I have a confession to make: I used to be terrified of chilaquiles. Not because they were hard to make, but because I was convinced they were too complicated for a Tuesday morning. I’d see them on restaurant menus, priced at $18, and think, “I could never replicate that.” I pictured a chef in a white hat carefully arranging tortilla chips in a perfect pyramid, drizzling artisanal salsa, and garnishing with micro-cilantro.
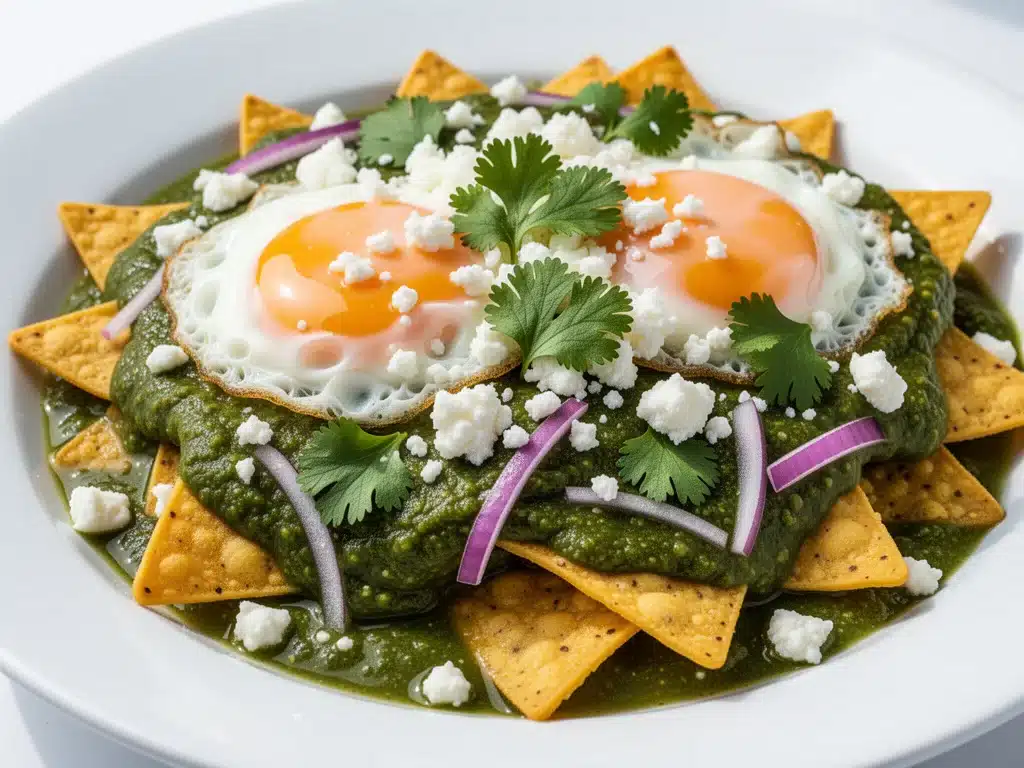
Then, last winter, I was sick. Not just “sneeze a little” sick, but “can’t get out of bed, shivering under three blankets” sick. My husband, bless his heart, came home from work and decided he wasn’t ordering takeout. He rummaged through our pantry, found some stale tortillas, a jar of salsa verde, and some eggs. He came into the bedroom with a plate that looked nothing like a restaurant dish. It was messy. It was bright green. It was steaming.
He handed me a fork and said, “Just eat.” I took a bite. The tortilla was soft but had just enough chew. The salsa was tangy and spicy. And then, I broke the yolk of the fried egg on top, letting that rich, golden yolk run over the chips and cheese. It was comfort food at its absolute peak. It tasted like a hug. It tasted like healing.
That was the day I realized that Mexican Style Chilaquiles with Fried Eggs aren’t about perfection. They’re about resourcefulness. They’re about turning stale tortillas into the best breakfast your family will ever eat. I’ve made this recipe dozens of times since that sick day—sometimes with salsa roja, sometimes with tomatillos, sometimes with just plain salt and pepper if I’m lazy. But the core idea remains the same: crispy-yet-soaked tortillas, melted cheese, creamy avocado, and that runny yolk that ties it all together.
This isn’t just breakfast. It’s a mood. It’s a weekend tradition. And once you try it, you’ll never look at a bag of tortillas the same way again. Here’s exactly how to make it, with all the tips I’ve learned along the way.
Why You’ll Love This Recipe
There’s a reason chilaquiles have become my family’s favorite weekend meal. It’s not just the taste; it’s the whole experience. Here’s why this dish has earned a permanent spot in our rotation:
Zero-Waste Breakfast — This is the ultimate way to use up stale tortillas. If you’ve ever thrown away hard tortillas, this recipe is your redemption. The salsa softens them into something delicious, not soggy.
Ready in 20 Minutes — Seriously. If you have salsa and cheese already, you can make this faster than ordering coffee. It’s perfect for lazy Sundays or busy mornings when you want to feel fancy but don’t have hours.
Customizable for Everyone — My kids like it mild with just cheese and avocado. My husband likes it spicy with chorizo. I like it simple with sour cream. Everyone gets exactly what they want from the same base.
Feels Like a Vacation — The combination of tangy salsa, salty cheese, and rich egg transports us. Even if we’re eating it at the kitchen table in pajamas, it feels like a mini-vacation to Mexico City.
Great Leftovers (Sort Of) — While it’s best fresh, leftover chilaquiles make an incredible lunch. The flavors meld together overnight and become even more intense. Just reheat gently.
This is my go-to when I want to impress guests without spending all morning in the kitchen. It’s rustic, it’s flavorful, and it’s genuinely satisfying. No complicated techniques, no weird ingredients, just reliable, delicious food that makes everyone happy.
Ingredients You’ll Need
Here’s the best part: you probably have most of this already. Chilaquiles is a pantry-and-fridge staple recipe. I’m particular about three ingredients here, and I’ll tell you exactly why.
For the Base
Tortillas (6-8 corn tortillas, cut into wedges) — Fresh tortillas work, but slightly stale ones are actually better because they hold their shape longer before getting too soft. If you’re using fresh ones, you can fry them quickly to crisp them up first. I prefer the “softening” method for that authentic texture.
Salsa (2 cups) — This is the star. You can use store-bought or homemade. Salsa verde (tomatillo-based) is traditional and tangy. Salsa roja (tomato-based) is richer and spicier. I keep both in the pantry. Homemade is best if you have time: blend tomatillos, jalapeño, onion, garlic, and cilantro, then simmer.
Oil (2 tablespoons) — For frying the tortillas if you choose to crisp them first. I use vegetable or canola oil. Olive oil works but has a strong flavor that might clash.
For the Flavor
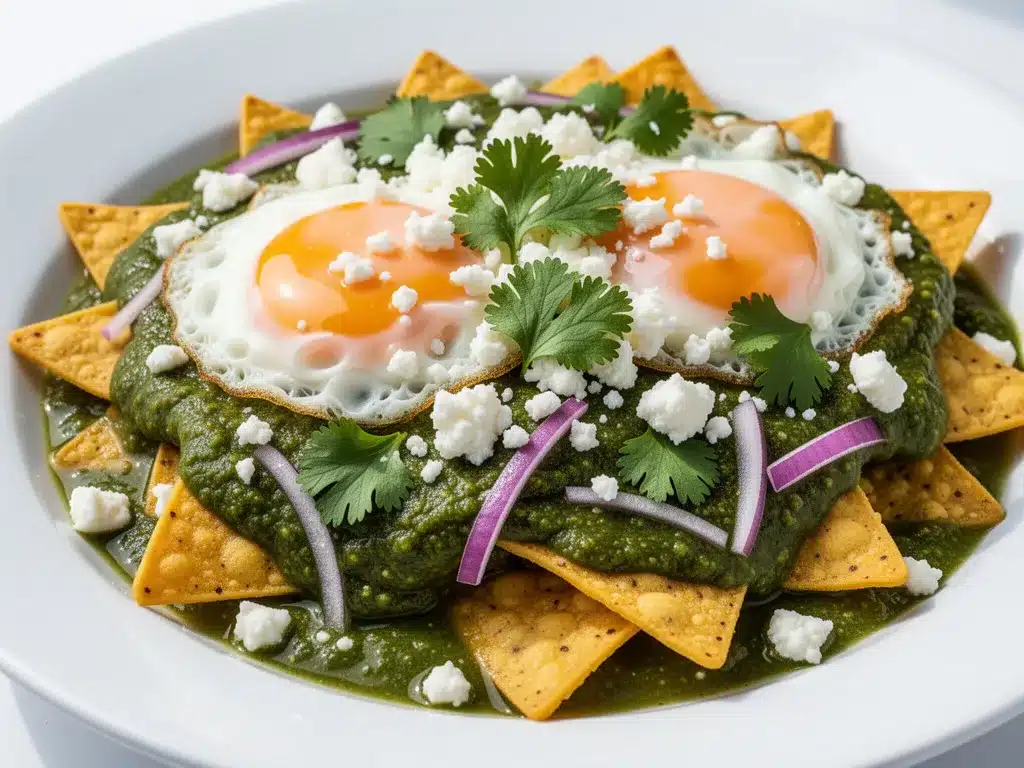
White Onion (½ medium, finely diced) — Adds crunch and freshness. Red onion works too, but white is more traditional. Soak diced onions in cold water for 10 minutes to mellow the bite.
Cotija Cheese (½ cup, crumbled) — This is the “Parmesan of Mexico.” It’s salty, dry, and crumbly. If you can’t find Cotija, queso fresco is a good substitute, or even feta in a pinch. Avoid melty cheeses like cheddar; you want that salty crumble.
Avoado (1 large, sliced) — Creamy, rich, and essential. Look for avocados that yield slightly to pressure. If they’re too hard, let them sit on the counter for a few days.
Sour Cream or Crema (¼ cup) — Crema is thinner and less tangy than sour cream. I use sour cream mixed with a little milk to thin it out. It adds a cool contrast to the spicy salsa.
Eggs (4 large) — Fried sunny-side up or over-easy. The yolk is the sauce within the sauce. Don’t overcook them!
Cilantro (½ cup, chopped) — Fresh, bright, and aromatic. I chop it finely and sprinkle it on top at the end.
Lime (1-2 limes, cut into wedges) — A squeeze of lime juice brightens everything up. Essential.
Optional Add-ins:
- Chorizo (½ pound, cooked and crumbled) — Adds smoky, spicy meatiness. My husband’s favorite addition.
- Black Beans (½ cup, rinsed and drained) — Adds protein and fiber. Great for making it more filling.
- Jalapeños (sliced) — For extra heat. Fresh or pickled.
- Refried Beans (½ cup) — Spread on the bottom for a heartier base.
Personal Tips:
- Brand recommendations: I use Mission corn tortillas. They’re soft, pliable, and have a great corn flavor.
- Shopping shortcuts: Store-bought salsa is totally fine. Look for brands like Herdez or La Costeña for authentic flavors.
- Substitutions: No Cotija? Use feta. No crema? Use thinned sour cream. No cilantro? Parsley works in a pinch, though it’s not traditional.
- Storage: Salsa keeps for weeks in the fridge. Tortillas keep for months if sealed well.
Common Questions:
- Can I use flour tortillas? Yes, but corn is traditional and holds up better to the salsa. Flour can get soggy too quickly.
- Where do I find Cotija? Most grocery stores have it in the cheese section, near other Mexican cheeses. If not, check the international aisle.
- Can I make this ahead? The salsa and toppings can be prepped ahead. Cook the tortillas and eggs fresh for best texture.
Equipment Needed
You don’t need fancy equipment for this. Here’s what I actually use.
Large Skillet or Comal — I use a 12-inch cast iron skillet. It holds heat well and is perfect for frying tortillas. Stainless steel works too, but cast iron is my go-to.
Sharp Knife — For cutting tortillas into wedges and slicing avocados. Dull knives are dangerous and frustrating.
Cutting Board — Any size works. I use a large wooden board for stability.
Spatula — For flipping tortillas and eggs. A flexible silicone spatula is best.
Bowl — For tossing tortillas with salsa.
Plate — For serving.
Optional but nice:
- Tortilla cutter — Those wheel cutters make quick work of cutting wedges. But a knife works fine.
- Blender — If making homemade salsa, a blender is essential.
How to Make It: Step-by-Step
Alright, let’s make this! I’m walking you through exactly how I do it, including the little tricks I’ve picked up.
Step 1: Prep Your Ingredients (5 minutes)
Cut the tortillas into wedges. Dice the onion. Slice the avocado. Crumble the cheese. Chop the cilantro. Have everything ready before you start cooking. This dish moves fast.
Step 2: Fry the Tortilla Chips (5 minutes)
Heat oil in a large skillet over medium-high heat. Add tortilla wedges in a single layer. Fry for 1-2 minutes per side until golden and crispy. Remove to a paper towel-lined plate. Don’t overcrowd the pan—do it in batches if needed. This step adds crunch and prevents sogginess.
Step 3: Warm the Salsa (3 minutes)
In the same skillet (wipe out excess oil if needed), pour in the salsa. Let it simmer for 2-3 minutes until it thickens slightly and the raw flavor cooks out. Taste and adjust salt if needed.
Step 4: Combine Tortillas and Salsa (2 minutes)
Add the fried tortilla chips to the salsa. Toss gently to coat. Let them sit for 1-2 minutes to absorb the salsa. They should be soft but not mushy. If you prefer softer chilaquiles, skip Step 2 and add raw tortilla wedges directly to the salsa, cooking until softened.
Step 5: Fry the Eggs (3 minutes)
In a separate small skillet, heat a little oil or butter. Crack the eggs and fry sunny-side up or over-easy. The yolk should be runny. Season with salt and pepper.
Step 6: Assemble and Serve (2 minutes)
Spread the chilaquiles on a plate. Top with crumbled cheese, diced onion, sliced avocado, and a dollop of sour cream. Place the fried egg on top. Sprinkle with cilantro and serve immediately with lime wedges.
Total Time: About 20 minutes (10 minutes active, 10 minutes cooking)
Built-in Troubleshooting:
- Tortillas too soggy? Fry them first for extra crunch.
- Salsa too thin? Simmer longer to reduce.
- Eggs overcooked? Remove from heat as soon as whites are set.
Expert Tips & Tricks
Here’s everything I’ve learned from making this dozens of times. These tips will save you from my mistakes.
Don’t Skip the Frying
Frying the tortillas first adds a crucial texture contrast. Raw tortillas in salsa can get too mushy. Frying them gives you that perfect soft-crisp hybrid.
Use Good Salsa
The salsa is the foundation. If it’s bland, the whole dish is bland. Use a high-quality store-bought salsa or make your own. Simmer it to concentrate flavors.
Room Temperature Eggs
Take eggs out of the fridge 15 minutes before cooking. They fry more evenly and are less likely to splatter.
Don’t Overcrowd the Pan
When frying tortillas, do it in batches. Overcrowding lowers the oil temperature and makes them greasy.
Common Mistakes (and how to avoid them):
- Mistake: Salsa is too watery Fix: Simmer longer to reduce.
- Mistake: Tortillas are too hard Fix: Don’t fry too long. They should be golden, not dark brown.
- Mistake: Everything is too salty Fix: Taste salsa before adding salt. Cotija is already salty.
Pro Tricks I’ve Learned:
- For Extra Flavor Toast the tortilla chips in a dry skillet before frying. Adds a nutty flavor.
- For Better Texture Toss tortillas with salsa right before serving. Prevents sogginess.
- Make-Ahead Strategy Make salsa ahead. Store in fridge for up to 5 days.
Variations & Substitutions
Once you’ve nailed the basic version, here’s how you can mix it up. I’ve tried all of these.
Chilaquiles Rojo
Use salsa roja (tomato-based) instead of verde. Adds a richer, sweeter flavor. Great with chicken.
Chilaquiles with Chorizo
Add cooked chorizo on top. Adds smoky, spicy meatiness. My husband’s favorite.
Vegetarian Version
Skip the meat. Add black beans or roasted vegetables for protein.
Breakfast Burrito Style
Wrap the chilaquiles in a flour tortilla. Adds a handheld element.
Seafood Version
Add grilled shrimp or fish on top. Adds a light, fresh element.
Dietary Modifications:
- Gluten-Free Corn tortillas are naturally gluten-free. Just check salsa labels.
- Dairy-Free Skip cheese and crema. Use avocado and olive oil for richness.
- Lower-Carb Use lettuce wraps instead of tortillas. Not traditional, but works.
- Vegan Use vegan cheese and egg substitute (like tofu scramble).
Serving & Storage
How to Serve:
I usually serve this straight from the skillet at the dinner table. It looks rustic and stays warm. But here are other ways I’ve enjoyed it:
Side Dishes:
- Refried beans
- Mexican rice
- Simple green salad
- Fruit salad
Toppings Bar:
When I have guests, I put out: extra cheese, cilantro, jalapeños, lime wedges, sour cream. Everyone customizes their bowl.
Storage Instructions:
Refrigerator:
Store in an airtight container for up to 3 days. The tortillas will get softer. Reheat in a skillet with a splash of water to restore moisture.
Reheating:
Best method: Skillet over low heat with a splash of water. Stir until heated through.
Freezing:
Not recommended. Tortillas get mushy when frozen and thawed. Make it fresh.
Nutrition Information
I’m not a nutritionist, but here’s the breakdown if you’re tracking.
Per Serving (based on 4 servings):
- Calories: 380
- Protein: 12g
- Carbs: 35g
- Fiber: 5g
- Sugar: 4g
- Fat: 22g
- Saturated Fat: 6g
- Cholesterol: 185mg
- Sodium: 450mg
- Calcium: 150mg
What’s Good:
- Decent protein from eggs and cheese
- Fiber from tortillas and avocado
- Healthy fats from avocado
What to Know:
- Higher in calories from cheese and oil
- Contains dairy and gluten
- Moderate sodium
My Take:
Look, this is comfort food. It’s not a diet recipe. But it’s way better than takeout, costs less, and I know exactly what’s in it. When I want to make it lighter, I use less cheese and more avocado. But usually? I just eat a reasonable portion and enjoy it.
Final Thoughts
So that’s my go-to Mexican Style Chilaquiles with Fried Eggs! I’ve probably talked your ear off at this point, but when you make a recipe this often, you have a lot to say about it.
This has saved weekend breakfasts more times than I can count. It’s my answer to “what’s for brunch” when I want to feel fancy but don’t want to stress. My kids are happy, my husband’s happy, and I’m happy because I’m not stressed about cooking.
Make it yours! Try different salsas, swap in your favorite toppings, adjust the spice level. The best recipes are the ones you adapt to your family’s tastes.
If you make this, drop a comment and let me know what you think! I love hearing how recipes turn out in your kitchen. And if something doesn’t work, tell me that too—I’m here to help troubleshoot.
Happy cooking! And I hope your kitchen smells half as good as mine does right now.
Frequently Asked Questions
Q: Can I use flour tortillas?
A: You can, but corn is traditional and holds up better to the salsa. Flour can get soggy too quickly. If you must use flour, fry them first to crisp them up.
Q: My chilaquiles are too soggy—what happened?
A: You probably added the salsa too early or didn’t fry the tortillas first. Fry the tortillas until crispy, then toss with salsa right before serving. Let them sit for only 1-2 minutes to absorb.
Q: Can I make this ahead for a brunch?
A: Sort of. Make the salsa and prep toppings ahead. Cook the tortillas and eggs fresh right before serving. It won’t be quite as good as fresh, but it’s close and saves you stress.
Q: Why did my eggs break?
A: The heat was too high, or you moved the pan too much. Use medium heat and let the whites set before flipping. For sunny-side up, cover the pan to cook the tops.
Q: Can I use jarred salsa?
A: Yes! Store-bought salsa is totally fine. Look for brands like Herdez or La Costeña for authentic flavors. Simmer it to concentrate flavors.
Q: How do I reheat leftovers without it getting dry?
A: Add a splash of water or broth to a skillet, add your leftover chilaquiles, and heat gently over low heat, stirring frequently. The extra liquid restores moisture.
Q: Can I double this recipe?
A: Absolutely! Double everything and use your biggest skillet. The cooking times stay the same. Just make sure your skillet is big enough for the tortillas—you might need to do it in batches.
Pin This Recipe!
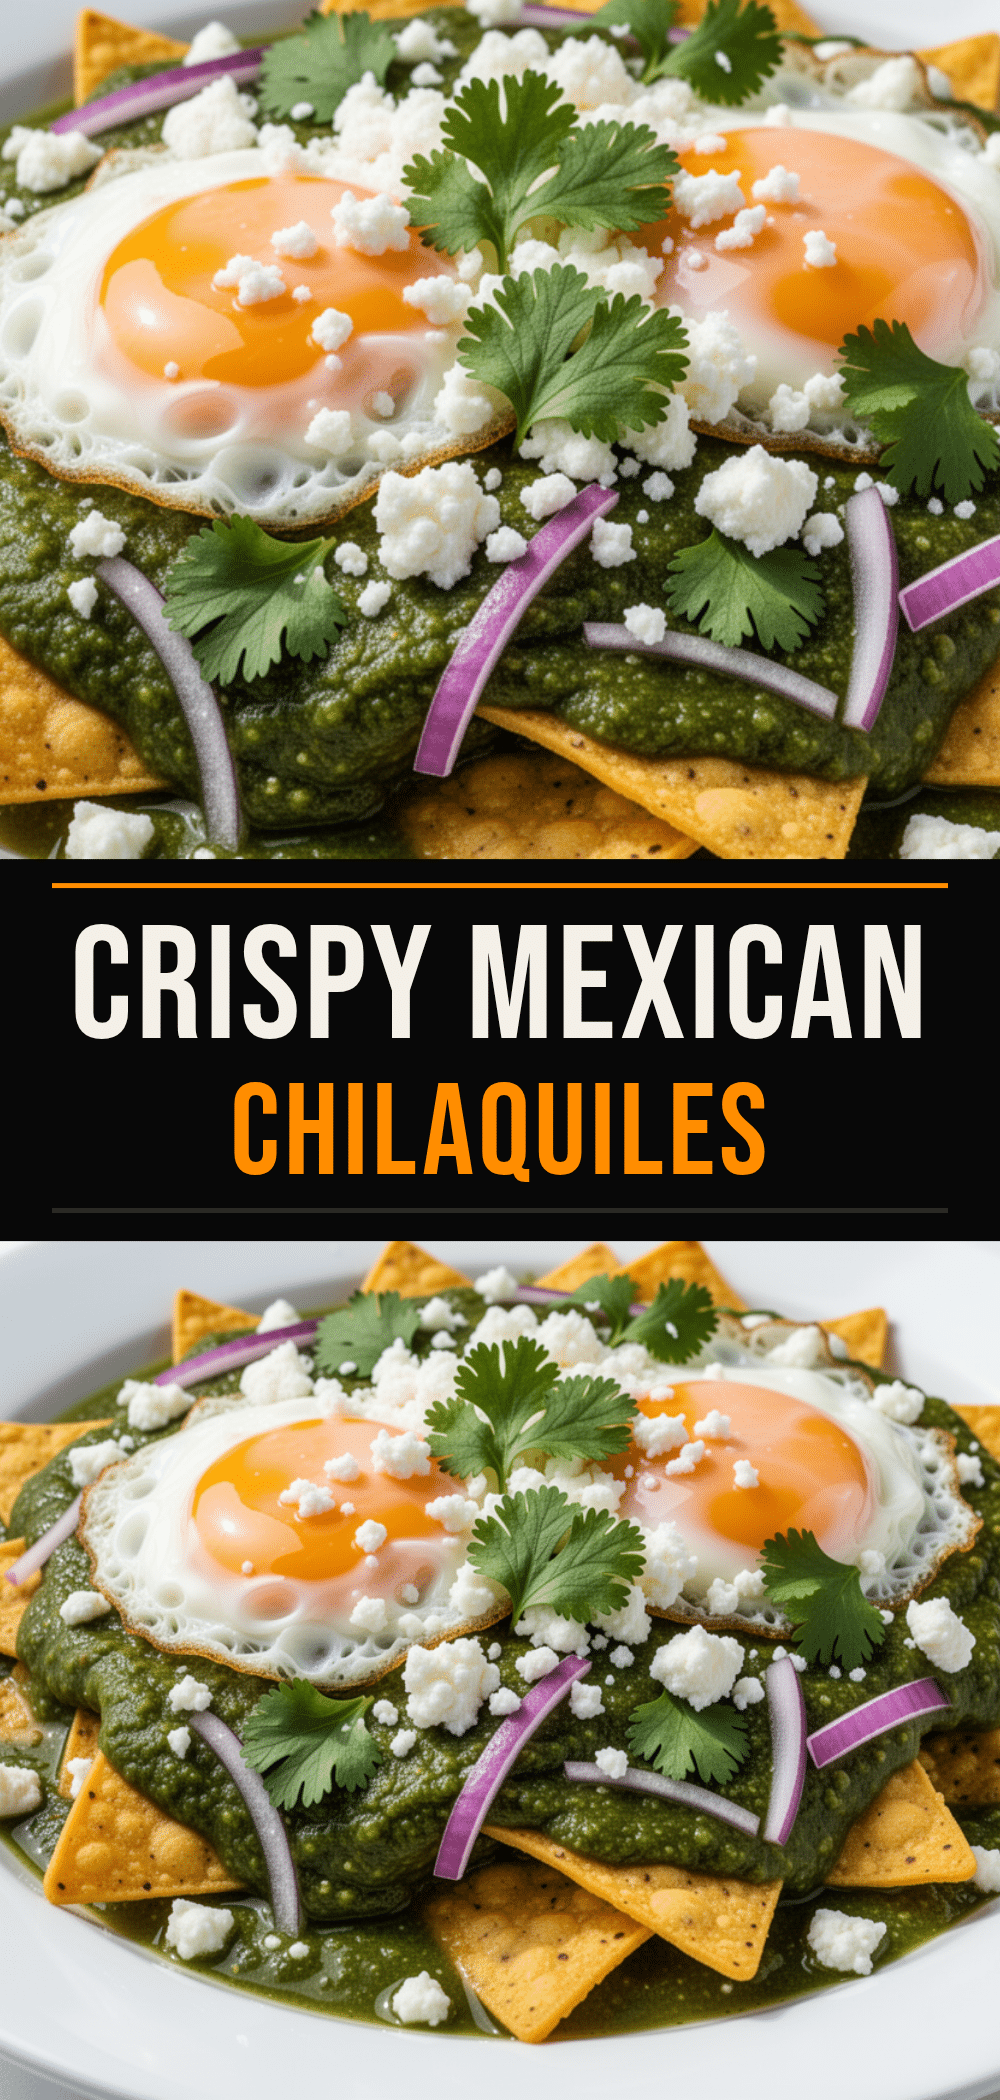
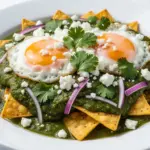
Mexican Style Chilaquiles with Fried Eggs
- Total Time: 20 minutes
- Yield: 4 servings 1x
Description
A quick, zero-waste breakfast recipe that transforms stale tortillas into a comforting meal with tangy salsa, melted cheese, and runny fried eggs.
Ingredients
- 6–8 corn tortillas, cut into wedges
- 2 cups salsa (verde or roja)
- 2 tablespoons vegetable or canola oil
- 1 large avocado, sliced
- 4 large eggs
- 1/2 cup cotija cheese, crumbled
- 1/2 medium white onion, finely diced
- 1/4 cup sour cream or crema
- 1/2 cup cilantro, chopped
- 1–2 limes, cut into wedges
- Salt and pepper to taste
Instructions
- Cut tortillas into wedges, dice onion, slice avocado, crumble cheese, and chop cilantro.
- Heat oil in a large skillet over medium-high heat. Fry tortilla wedges in batches for 1-2 minutes per side until golden and crispy. Remove to a paper towel-lined plate.
- In the same skillet, pour in salsa and simmer for 2-3 minutes until slightly thickened.
- Add fried tortilla chips to the salsa and toss gently to coat. Let sit for 1-2 minutes to absorb the salsa.
- In a separate small skillet, fry eggs sunny-side up or over-easy until whites are set but yolks are runny.
- Spread chilaquiles on a plate. Top with cheese, onion, avocado, sour cream, and the fried egg.
- Sprinkle with cilantro and serve immediately with lime wedges.
Notes
Use slightly stale tortillas for better texture. Fry tortillas first to prevent sogginess. Serve immediately for best results. Leftovers can be stored in the fridge for up to 3 days and reheated gently in a skillet with a splash of water.
- Prep Time: 5 minutes
- Cook Time: 15 minutes
- Category: Breakfast
- Cuisine: Mexican
Nutrition
- Serving Size: 1 plate with tortill
- Calories: 380
- Sugar: 4
- Sodium: 450
- Fat: 22
- Saturated Fat: 6
- Carbohydrates: 35
- Fiber: 5
- Protein: 12
Keywords: chilaquiles, mexican breakfast, fried eggs, stale tortillas, easy recipe, weekend brunch, zero waste