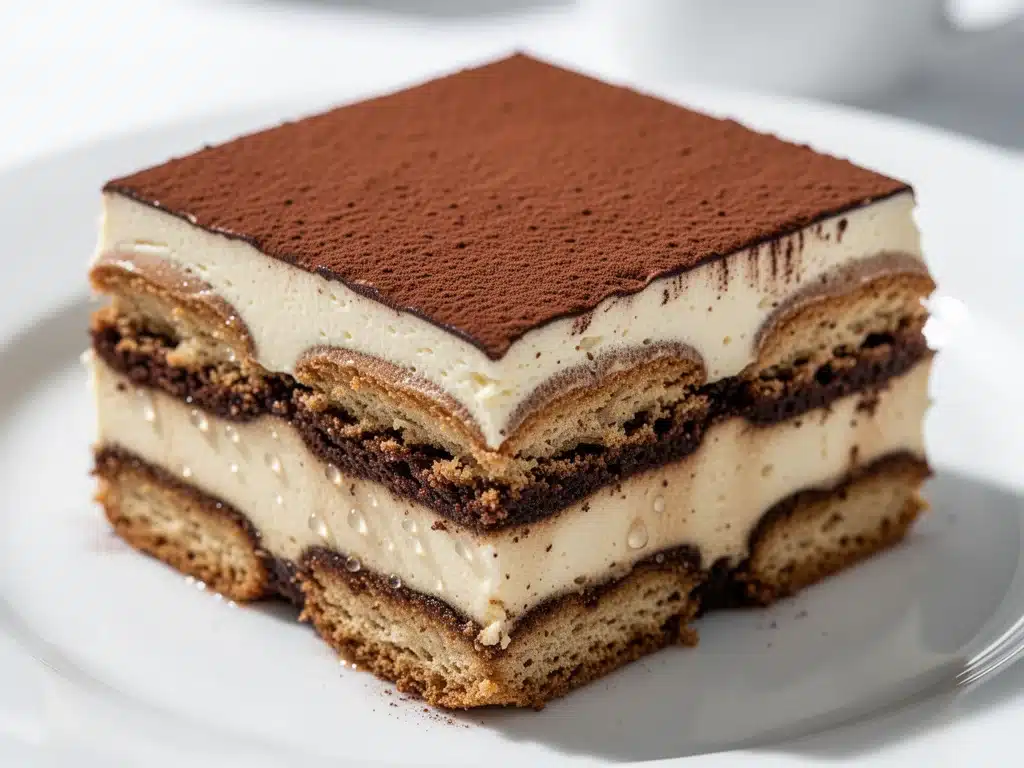
My grandmother’s kitchen was always a chaos of flour and flour-dusted counters, but every Sunday, she made one thing with absolute precision: tiramisu. I remember watching her dip those ladyfingers—never too long, never too short, just a quick flash into the espresso. She’d say, “Patience, little one. If you rush it, it’s just wet cake. If you wait, it’s magic.”
For years, I tried to replicate that magic. I’ve failed. And I mean failed. I’ve made soggy, dense bricks that sank in the middle. I’ve made versions that tasted like sweetened coffee water with a hint of cheese. I’ve even tried the “no-bake” shortcuts that use whipped cream instead of mascarpone (don’t get me started—it’s not tiramisu, it’s a dessert sandwich).
But last month, I finally cracked the code. It wasn’t about fancy ingredients or expensive equipment. It was about technique. Specifically, the balance of the coffee soak, the texture of the cheese mixture, and the crucial waiting period. This Classic Italian Tiramisu with Espresso-Soaked Ladyfingers that impresses every time isn’t just a recipe; it’s a lesson in restraint. It’s the kind of dessert that makes people close their eyes when they take the first bite. It’s rich, it’s caffeinated, it’s creamy, and it’s dangerously easy to eat straight from the bowl if you’re not careful.
I’ve tested this recipe over a dozen times, tweaking the coffee ratio and the cheese texture, until it became the gold standard for our family gatherings. It’s the reason I’m invited to dinner parties (probably), and it’s the reason my husband asks for it on his birthday every single year. If you’ve ever been intimidated by tiramisu, think again. This version is foolproof, elegant, and tastes like you spent hours in a Milanese bakery.
Why You’ll Love This Recipe
There are a thousand reasons to make tiramisu, but here’s why this specific version has earned a permanent spot in my rotation:
Zero Cooking Required — Seriously. There’s no stove, no oven, no tempering eggs (unless you want to, but we’re keeping it simple and safe). You just mix, dip, and chill. It’s the perfect make-ahead dessert.
Restaurant-Quality Texture — I’ve struggled with watery or grainy tiramisu before. This method ensures the mascarpone stays silky and the ladyfingers hold their structure without turning into mush. The result? A creamy, airy bite that melts on your tongue.
Make-Ahead Friendly — This is my secret weapon. Tiramisu tastes better the next day. In fact, it’s best on day two or three. I can make it on Sunday, chill it all week, and pull it out for Friday night dinner looking like I just came from the kitchen. It’s stress-free hosting.
Customizable Strength — Want it boozy? Add a splash of Marsala or rum. Want it coffee-forward? Use double espresso. Want it kid-friendly? Swap the espresso for strong decaf. This recipe bends to your taste without breaking.
Minimal Ingredients, Maximum Impact — You probably have most of this in your fridge already. Mascarpone, eggs, sugar, ladyfingers, espresso, cocoa powder. That’s it. No weird pantry items you’ll use once and forget.
This isn’t just a dessert; it’s a confidence booster. Serve it at a dinner party, and watch your friends try to figure out the secret ingredient. They’ll never guess it’s just cheese, coffee, and patience.
Ingredients You’ll Need
Here’s the thing about tiramisu: the quality of your ingredients matters more than the technique. Since there are only six main components, each one needs to shine. I’m particular about a few of these, so here’s exactly what to look for.
For the Coffee Soak
Espresso (2 cups / 480ml) — This is non-negotiable. Do not use instant coffee granules unless you’re in a true emergency, and even then, it’s risky. Strong, freshly brewed espresso gives that deep, bitter punch that balances the sweet cheese. I use my espresso machine, but a strong Moka pot brew works perfectly too. Let it cool completely before dipping.
Marsala Wine (2 tablespoons / 30ml) — Optional but traditional. Marsala adds a nutty, caramelized depth that coffee alone can’t achieve. If you don’t have it, you can skip it, or use a splash of rum or amaretto for a different flavor profile. I always keep a bottle of sweet Marsala for this.
Granulated Sugar (1 tablespoon / 15g) — Just a little bit to balance the bitterness of the coffee. If your espresso is very bitter, you might want 1.5 tablespoons. Taste your coffee first.
For the Mascarpone Cream
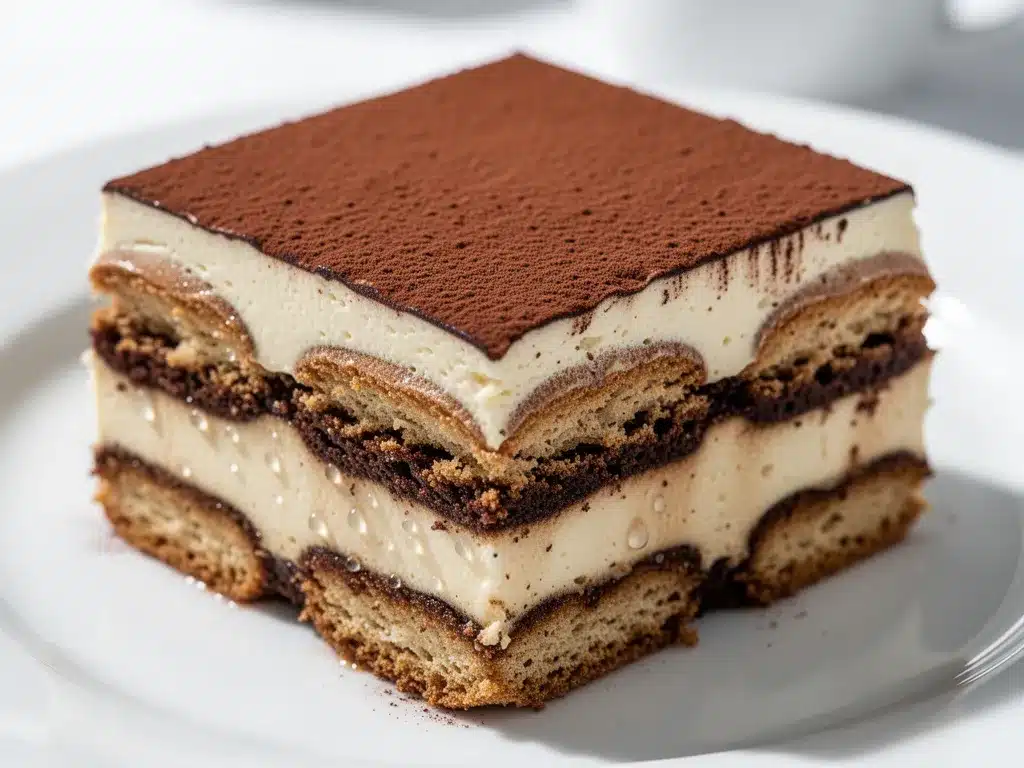
Mascarpone Cheese (16 oz / 450g) — This is the star. Do not substitute with cream cheese. Cream cheese is tangy and dense; mascarpone is mild, buttery, and luxurious. Look for brands like Galbani or President. Make sure it’s cold when you start, but not rock-hard.
Large Eggs (3 large / ~150g) — Yes, raw eggs. If you’re concerned about salmonella, use pasteurized eggs or follow the cooked custard method (I’ll share that in the tips). The yolks add richness and color; the whites add air.
Granulated Sugar (¾ cup / 150g) — This sweetens the cream. Don’t skimp. If you reduce the sugar, the mascarpone will taste too sharp and sour.
Vanilla Extract (1 teaspoon / 5ml) — Pure vanilla, not imitation. It adds warmth and rounds out the flavors. A pinch of salt is also good here to enhance the sweetness.
For the Assembly
Ladyfingers (Savoiardi) (24-30 pieces / ~200g) — These are dry, crisp cookies designed to soak up liquid. Do not use sponge cake or regular cookies. Look for Italian-style savoiardi—they’re hollow and absorb coffee beautifully. If you can’t find them, some brands make “tiramisu-ready” ladyfingers that are pre-soaked, but I prefer the classic dry version for better control.
Unsweetened Cocoa Powder (2-3 tablespoons / 15-20g) — For dusting on top. I use high-quality Dutch-processed cocoa for a darker, richer color and smoother taste. Sift it! Clumpy cocoa is a mood killer.
Equipment Needed
You don’t need fancy gadgets for this. Here’s what I actually use:
Two Large Bowls — One for whipping the egg whites, one for the mascarpone mixture. Glass or stainless steel works best. Plastic can retain oily residues if you’ve used it for butter before.
Electric Hand Mixer or Stand Mixer — Whipping egg whites by hand is possible but exhausting. A mixer ensures stiff peaks in minutes. I use a hand mixer because it’s easier to clean.
9×13 Inch Baking Dish — Glass or ceramic. I love Pyrex because you can see the layers. Just make sure it’s deep enough so the cocoa doesn’t spill over.
Whisk — For mixing the mascarpone and yolks. A balloon whisk works great.
Spatula — A rubber spatula for folding. Be gentle! You don’t want to deflate the egg whites.
Small Shallow Dish — For the coffee mixture. A pie plate or wide bowl works well for dipping.
Cocoa Sifter or Fine Mesh Strainer — For that professional, dust-like finish on top. A fork works in a pinch, but it won’t be as pretty.
How to Make It: Step-by-Step
Alright, let’s make this! I’m walking you through exactly how I do it, including the little tricks I’ve picked up. This process takes about 30 minutes of active work, plus 4-6 hours of chilling time.
Step 1: Brew and Cool the Espresso
Brew your espresso while you prep your other ingredients. You need 2 cups of strong coffee. Once brewed, stir in the sugar and Marsala (if using). Pour it into a shallow dish and let it cool to room temperature. If the coffee is hot, it will dissolve the ladyfingers instantly. Cold coffee is your friend here.
Step 2: Separate the Eggs
Separate 3 large eggs, making sure no yolk gets into the whites. Even a tiny drop of yolk can prevent the whites from whipping up properly. Place the whites in a clean, dry bowl and the yolks in a separate bowl. Pro tip: Crack eggs one by one into a small cup before adding to the main bowl to avoid ruining the batch.
Step 3: Whip the Egg Whites
Using an electric mixer, beat the egg whites on medium-high speed until they form stiff peaks. This means when you lift the beaters, the peaks stand straight up without drooping. This usually takes 2-3 minutes. Don’t over-whip until they look dry and crumbly; you want them glossy and smooth. Set aside.
Step 4: Mix the Mascarpone and Yolks
In a medium bowl, beat the egg yolks and ¾ cup sugar together until pale and creamy. This takes about 2-3 minutes. The mixture should lighten in color and become thick. Add the mascarpone cheese and beat on low speed until just combined. Do not overmix, or the mascarpone can separate and become grainy. Mix in the vanilla extract.
Step 5: Fold the Whites Into the Cheese
This is the most critical step. Add about one-third of the whipped egg whites to the mascarpone mixture and stir gently to lighten it. Then, add the remaining whites and use a rubber spatula to gently fold them in. Fold from the bottom up, turning the bowl. Stop as soon as the whites are incorporated. You want to keep the air in the mixture. If you overmix, your tiramisu will be dense.
Step 6: Dip the Ladyfingers
Quickly dip each ladyfinger into the cooled espresso mixture. I mean *quickly*—about 1-2 seconds per side. You want them moist, not soggy. If you leave them in too long, they’ll fall apart. Lay them in a single layer in the bottom of your 9×13 dish. You’ll need about 12-15 ladyfingers for the first layer, depending on their size.
Step 7: Layer the Cream
Spread half of the mascarpone cream over the first layer of ladyfingers. Use a spatula to smooth it out, reaching the edges. This is your base layer.
Step 8: Second Layer
Repeat the dipping process with the remaining ladyfingers and layer them on top of the cream. Spread the remaining cream over this second layer. Smooth the top gently.
Step 9: Chill
Cover the dish tightly with plastic wrap. Refrigerate for at least 4 hours, but ideally overnight. This chilling time is what allows the flavors to meld and the ladyfingers to soften into a cake-like texture. Patience, little one.
Step 10: Dust and Serve
Just before serving, sift a generous layer of unsweetened cocoa powder over the top. Use a fine mesh strainer for an even dusting. Slice with a sharp knife. Clean slices come from wiping the knife between cuts.
Expert Tips & Tricks
Here’s everything I’ve learned from making this dozens of times. These tips will save you from my mistakes.
Don’t Skip the Stiff Peaks
The egg whites provide the airy texture. If they’re soft, your tiramisu will be heavy. Make sure your bowl is clean and dry before whipping.
Quick Dips Only
This is the #1 mistake beginners make. Ladyfingers are like sponges. A 3-second dip is too long. Think 1 second per side. They will continue to absorb moisture from the cream while chilling.
Cold Ingredients Matter
Keep your mascarpone and eggs cold until you’re ready to mix. Warm mascarpone can break and become oily. If your kitchen is hot, chill your bowl before starting.
Use a Sharp Knife
Tiramisu is soft. A dull knife will mash the layers. Use a sharp chef’s knife and wipe it clean between each cut for perfect squares.
The Overnight Rule
Tiramisu is never as good on day one. The flavors need time to marry. Make it the night before you plan to serve it. Trust me.
Safety Note
If you’re concerned about raw eggs, use pasteurized eggs. You can also cook the yolks with the sugar over a double boiler until they reach 160°F (71°C), then cool before mixing with mascarpone. It’s safer but changes the texture slightly.
Variations & Substitutions
Once you’ve nailed the basic version, here’s how you can mix it up. I’ve tried all of these.
No-Alcohol Version
Skip the Marsala. Use extra espresso or add a teaspoon of orange zest to the coffee for a bright, citrusy note. Great for kids.
Rum Tiramisu
Replace Marsala with dark rum. It adds a deeper, spicier flavor. My husband’s favorite.
Chocolate Tiramisu
Add 2 tablespoons of cocoa powder to the mascarpone mixture. Dust with chocolate shavings instead of cocoa powder.
Strawberry Tiramisu
Layer fresh sliced strawberries between the cream layers. Add a hint of vanilla to the coffee. It’s lighter and fruitier.
Gluten-Free
Use gluten-free ladyfingers. They’re available in most supermarkets. Note: They may absorb liquid differently, so dip them very quickly.
Vegan
This is tricky because traditional tiramisu relies on eggs and dairy. You can use vegan mascarpone (like Violife), silken tofu instead of eggs, and vegan ladyfingers. It’s not the same, but it’s a decent alternative.
Serving & Storage
How to Serve:
I usually serve this straight from the fridge. It’s best cold. Garnish with a single coffee bean or a small piece of dark chocolate for a fancy touch. Pair with a small cup of espresso on the side.
Side Dishes:
Tiramisu is rich, so keep sides light. A simple arugula salad with lemon vinaigrette cuts through the richness perfectly. Or just serve it with fresh berries.
Storage:
Store in the refrigerator, covered tightly with plastic wrap, for up to 3 days. Do not freeze. The texture of the cream and ladyfingers will suffer upon thawing.
Reheating:
Do not reheat tiramisu. Serve it chilled. If it’s been in the fridge for a while, let it sit at room temperature for 10 minutes before serving to soften slightly.
Nutrition Information
I’m not a nutritionist, but here’s the breakdown if you’re tracking. This is a rich dessert, so portion control is key.
Per Serving (based on 12 servings):
- Calories: 320
- Protein: 6g
- Carbs: 35g
- Fiber: 1g
- Sugar: 22g
- Fat: 18g
- Saturated Fat: 10g
- Cholesterol: 110mg
- Sodium: 120mg
What’s Good:
– Moderate protein from eggs and cheese.
– Calcium from mascarpone.
What to Know:
– High in sugar and saturated fat.
– Contains gluten and dairy.
– Caffeine content depends on espresso strength (approx. 50-100mg per serving).
My Take:
Look, this is indulgence. It’s not a diet food. But it’s homemade, so you know exactly what’s in it. One square is plenty. Pair it with a black coffee and enjoy slowly.
Final Thoughts
So that’s my go-to Classic Italian Tiramisu with Espresso-Soaked Ladyfingers that impresses every time. I’ve probably talked your ear off at this point, but when you make a recipe this often, you have a lot to say about it.
This has saved dinner parties more times than I can count. It’s my answer to “what’s for dessert” when I want to look elegant but don’t want to spend hours in the kitchen. My family is happy, my guests are happy, and I’m happy because I’m not stressed about cooking.
Make it yours! Try different liqueurs, add chocolate shavings, or serve it with fresh fruit. The best recipes are the ones you adapt to your family’s tastes.
If you make this, drop a comment and let me know what you think! I love hearing how recipes turn out in your kitchen. And if something doesn’t work, tell me that too—I’m here to help troubleshoot.
Happy cooking! And I hope your kitchen smells half as good as mine does right now.
Frequently Asked Questions
Can I use instant coffee instead of espresso?
You can, but the flavor won’t be as rich. If you must use instant, dissolve 3-4 tablespoons in 2 cups of hot water and let it cool. Fresh espresso is best for that authentic taste.
Why is my tiramisu watery?
This usually happens if you dipped the ladyfingers for too long. They absorbed too much coffee. Next time, dip them for just 1 second per side. Also, make sure your mascarpone mixture wasn’t too thin.
Can I make this ahead?
Yes! Tiramisu is best made 1-2 days ahead. It needs time to chill and set. I usually make it on Sunday for Friday night dinner. It keeps well in the fridge for up to 3 days.
Why did my mascarpone separate?
This happens if you overmixed it or if it was too warm. Mascarpone is delicate. Mix on low speed and keep it cold. If it breaks, you can try whisking in a little heavy cream to bring it back together.
Can I use cream cheese instead of mascarpone?
I don’t recommend it. Cream cheese is tangy and dense. Mascarpone is mild and creamy. If you must substitute, mix cream cheese with a little heavy cream to lighten it, but it won’t be the same.
How do I get clean slices?
Use a sharp knife. Wipe the blade clean between each cut with a damp paper towel. This prevents the cream from sticking and tearing the layers.
Is tiramisu safe to eat with raw eggs?
If you use pasteurized eggs, it’s safe. If you’re concerned, cook the yolks with sugar over a double boiler until they reach 160°F, then cool before mixing. This makes it safer without sacrificing too much texture.
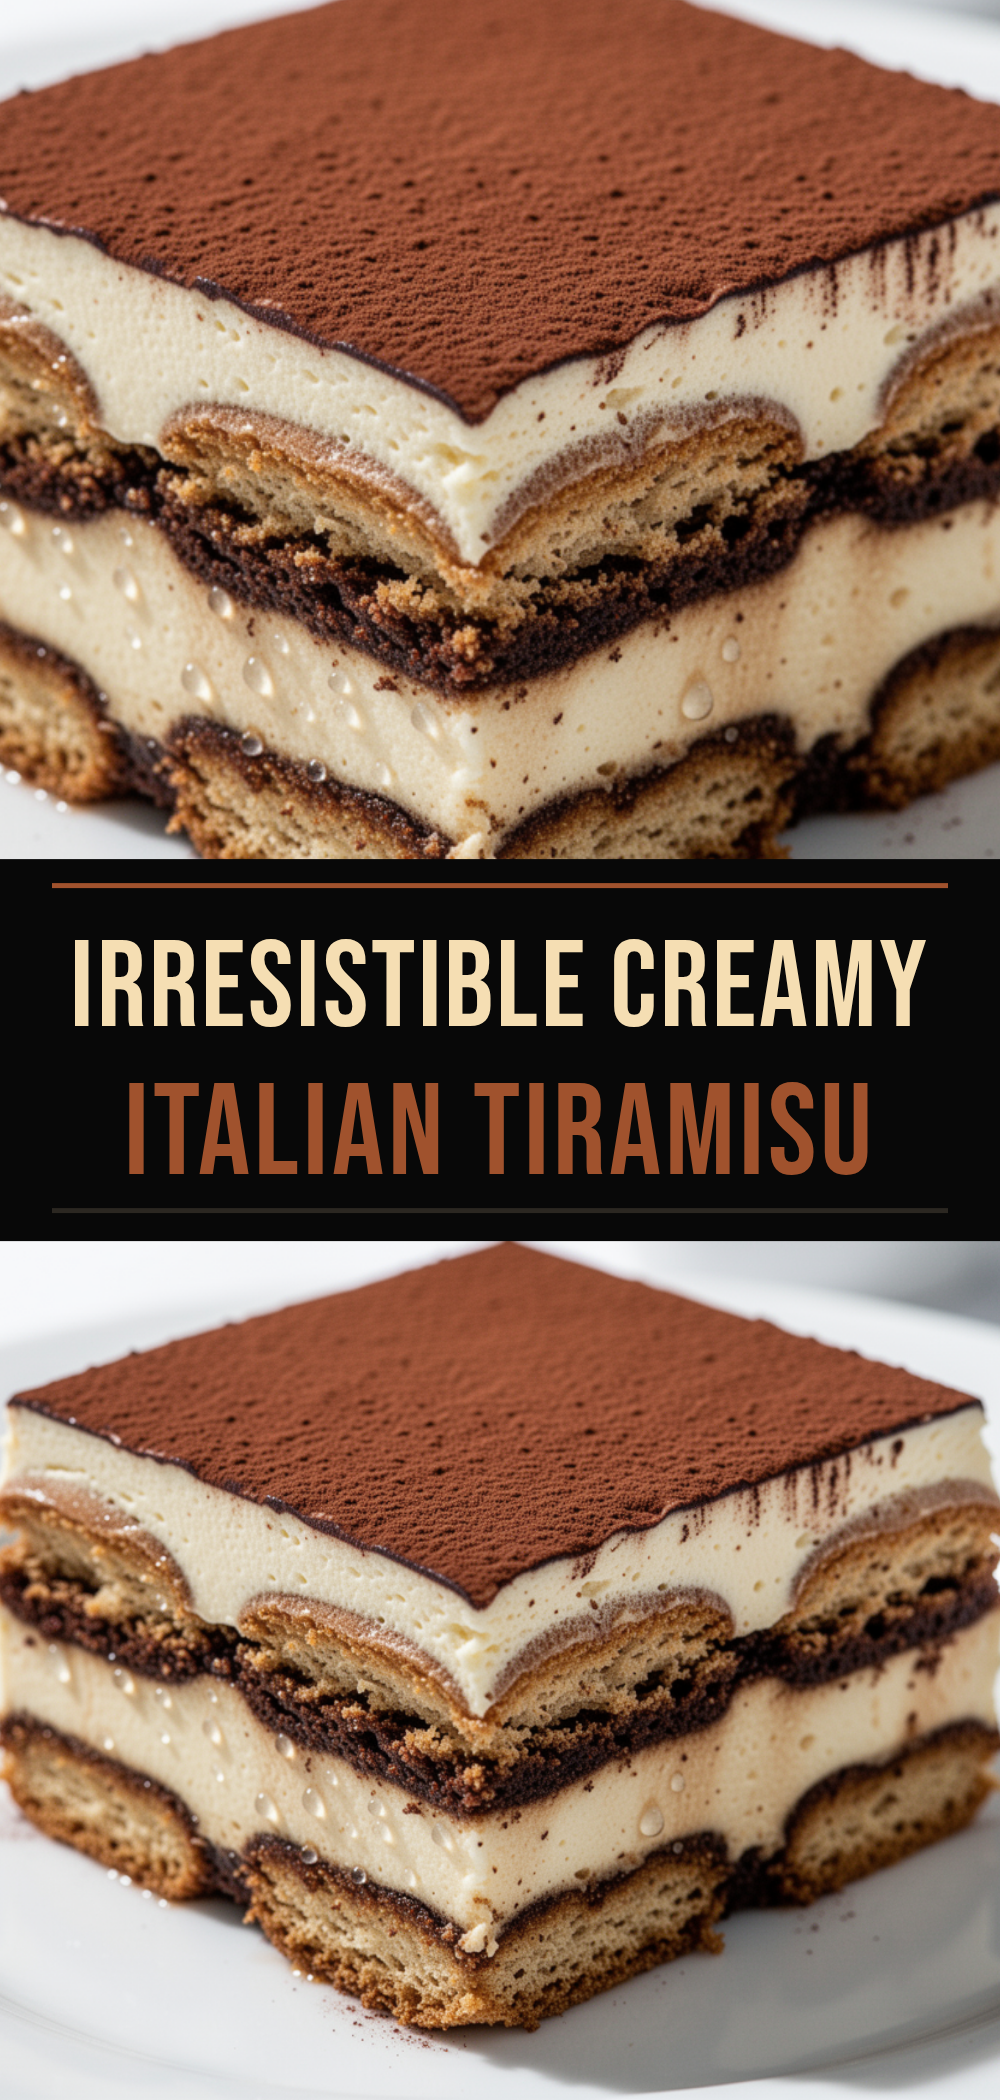
Pin This Recipe!
Classic Italian Tiramisu: 5-Step Easy Recipe
- Total Time: 4 hours 30 minutes
- Yield: 12 servings 1x
Description
A foolproof, no-bake Italian dessert featuring espresso-soaked ladyfingers and a silky mascarpone cream. This recipe balances technique and patience for a rich, creamy texture that improves with overnight chilling.
Ingredients
- 2 cups (480ml) strong espresso, cooled
- 2 tablespoons (30ml) Marsala wine (optional)
- 1 tablespoon (15g) granulated sugar (for coffee)
- 16 oz (450g) mascarpone cheese, cold
- 3 large eggs, separated
- 3/4 cup (150g) granulated sugar (for cream)
- 1 teaspoon (5ml) pure vanilla extract
- Pinch of salt
- 24–30 ladyfingers (Savoiardi)
- 2–3 tablespoons (15-20g) unsweetened cocoa powder
Instructions
- Brew espresso and stir in sugar and Marsala (if using). Pour into a shallow dish and let cool completely to room temperature.
- Separate eggs, ensuring no yolk gets into the whites. Place whites in a clean, dry bowl and yolks in a separate bowl.
- Using an electric mixer, beat egg whites on medium-high speed until stiff peaks form. Set aside.
- In a medium bowl, beat egg yolks and 3/4 cup sugar until pale and creamy. Add mascarpone and beat on low speed until just combined. Mix in vanilla extract and salt.
- Fold one-third of the whipped egg whites into the mascarpone mixture to lighten it. Gently fold in the remaining whites until just incorporated, being careful not to deflate the mixture.
- Quickly dip each ladyfinger into the cooled espresso (1-2 seconds per side) and arrange in a single layer in a 9×13 inch baking dish.
- Spread half of the mascarpone cream over the first layer of ladyfingers.
- Repeat the dipping process with remaining ladyfingers and layer on top of the cream. Spread the remaining cream over the top.
- Cover tightly with plastic wrap and refrigerate for at least 4 hours, ideally overnight.
- Just before serving, sift unsweetened cocoa powder over the top. Slice with a sharp knife.
Notes
Do not use instant coffee unless necessary. Ensure mascarpone is cold to prevent separation. Dip ladyfingers quickly to avoid sogginess. Tiramisu tastes best on day two or three. For safety, use pasteurized eggs or cook yolks to 160°F.
- Prep Time: 30 minutes
- Cook Time: 0 minutes
- Category: Dessert
- Cuisine: Italian
Nutrition
- Serving Size: 1 square slice
- Calories: 320
- Sugar: 22
- Sodium: 120
- Fat: 18
- Saturated Fat: 10
- Carbohydrates: 35
- Fiber: 1
- Protein: 6
Keywords: tiramisu, italian dessert, no-bake, mascarpone, espresso, ladyfingers, make-ahead dessert, classic recipe


