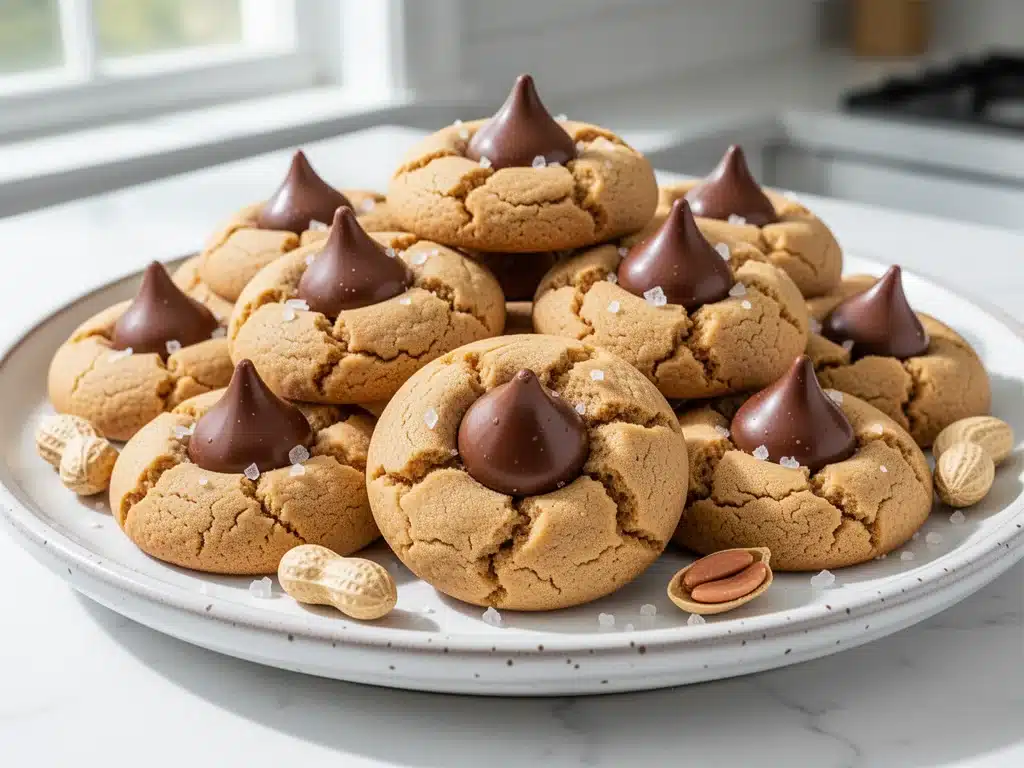
There’s a specific kind of panic that hits when you realize you need a dessert for a last-minute church potluck, a neighbor’s housewarming gift, or just because your kids looked at you like you’d forgotten Christmas. I was standing in my kitchen at 4 PM on a Tuesday, staring at a half-empty pantry, when I realized I had exactly three options: order takeout, buy store-bought cookies (which, let’s be honest, taste like cardboard and regret), or whip up something from scratch that would take hours.
That’s when I reached for the box. Not just any box. A yellow cake mix. And not just any cookie. Peanut butter blossoms. I’d made the classic version a million times, but something about that rainy Tuesday afternoon made me want to cheat. Just a little. So I did the unthinkable: I used cake mix as the base for my peanut butter cookies. I was skeptical. I knew the texture would be different. I worried they’d be too cakey, too sweet, or just weird. But I also knew I needed cookies, and I needed them yesterday.
What came out of the oven wasn’t just “good for a shortcut.” It was actually better than the scratch version. These cake mix peanut butter blossom cookies have a chewy, fudgy center with a crisp edge that I didn’t even think was possible with cake mix. They’re soft, they’re rich, and they smell like a bakery. I made a batch for my neighbor, Mrs. Gable, who is notoriously hard to please. She ate two before I even knocked on her door. That’s when I knew I had struck gold.
Since that Tuesday, I’ve made these cookies at least fifteen times. I’ve taken them to book club, school bake sales, and just random Tuesday nights because they’re that good. My kids now ask for “the cake mix cookies” instead of the regular ones. And I’m not even embarrassed to admit it. These are the cookies I’ll make on repeat, year after year, because they’re foolproof, incredibly fast, and always a hit. If you’re looking for a dessert that delivers big flavor with minimal effort, this is it.
Why You’ll Love These Cake Mix Peanut Butter Blossom Cookies
Look, I get it. Using cake mix in cookies sounds like a shortcut, and sometimes shortcuts mean sacrificing quality. But with this recipe, you don’t lose anything. In fact, you gain a whole lot. These cookies have become my go-to for every occasion because they solve the biggest problem home bakers face: time vs. taste. Here’s why these cake mix peanut butter blossom cookies have permanently replaced my scratch recipes.
- Stupid Simple — Seriously, if you can mix batter and roll balls, you can make these. There’s no creaming butter and sugar, no resting the dough, no complicated technique. I’ve walked my teenage son through making these over FaceTime while he was at his dad’s house. He got it right the first time.
- Lightning Fast — 30 minutes from start to finish, and only 10 of those are active hands-on time. The rest is just baking. I make these on weeknights when I get home from work at 6:30 PM and still want something sweet for dessert. It’s that fast.
- Pantry-Friendly — You probably have 80% of these ingredients already. I keep yellow cake mix and peanut butter in my cupboard specifically so I can make these on a whim. The only thing you need to buy fresh is the chocolate kisses, which is a small price to pay.
- Crowd-Pleaser — I’ve served these to picky kids, vegan friends (with subbed chocolate), and my husband’s boss who claims to be a “serious baker.” Everyone loves them. The texture is perfect—crispy edges, soft centers—and the peanut butter and chocolate combo is timeless.
- Makes Amazing Leftovers — Actually, these don’t last long enough to be leftovers, but if they do, they stay soft for days. I deliberately make extra for my lunchbox on Wednesday. They don’t get stale like some cookies do.
- Budget-Smart — Feeds 4-6 people for under $10. That’s less than half the cost of buying a dozen gourmet cookies at the bakery. And honestly, these taste better than most bakery cookies I’ve tried.
This is my answer to “what’s for dessert?” when I’m tired, don’t want to wash a mountain of bowls, and still want something that tastes homemade and special. No complicated techniques, no weird ingredients, just reliable, delicious cookies that make everyone happy.
Ingredients You’ll Need for Cake Mix Peanut Butter Blossom Cookies
Here’s the best part: you probably have most of this already. This recipe is designed to be forgiving and flexible. I’m particular about three things here—the type of cake mix, the peanut butter consistency, and the chocolate—but everything else is pretty standard. Let’s break down what you need and why it matters.
For the Cookie Base
Yellow cake mix (15.25 ounces / 433g) — This is the secret weapon. I always use yellow cake mix, not white or vanilla. Yellow has that buttery, rich flavor that pairs perfectly with peanut butter. Don’t use chocolate cake mix; it changes the flavor profile too much. I stick to Betty Crocker or Duncan Hines—both work great.
Peanut butter (1 cup / 250g) — This is non-negotiable. Use creamy, natural peanut butter. I like Jif or Skippy for consistency, but if you’re using natural peanut butter (like Smucker’s Natural), make sure it’s well-stirred and not too oily. If it’s too runny, your cookies will spread too much. If it’s too stiff, they’ll be dry. Aim for a spreadable consistency.
Vegetable oil (½ cup / 120ml) — Yes, oil instead of butter. This is what keeps the cookies soft and chewy. Butter can make cookies crispier, but oil keeps them moist for days. I use neutral vegetable oil or canola oil. Olive oil will add a flavor that clashes with the peanut butter, so avoid it.
Large egg (1) — Just one egg. This binds everything together. Room temperature is best, but cold works fine too. Don’t skip this; it’s the structure of the cookie.
Vanilla extract (1 teaspoon) — Adds depth. I use pure vanilla, not imitation. It’s a small amount, but it makes the peanut butter taste more “baked” and less raw.
For the Topping
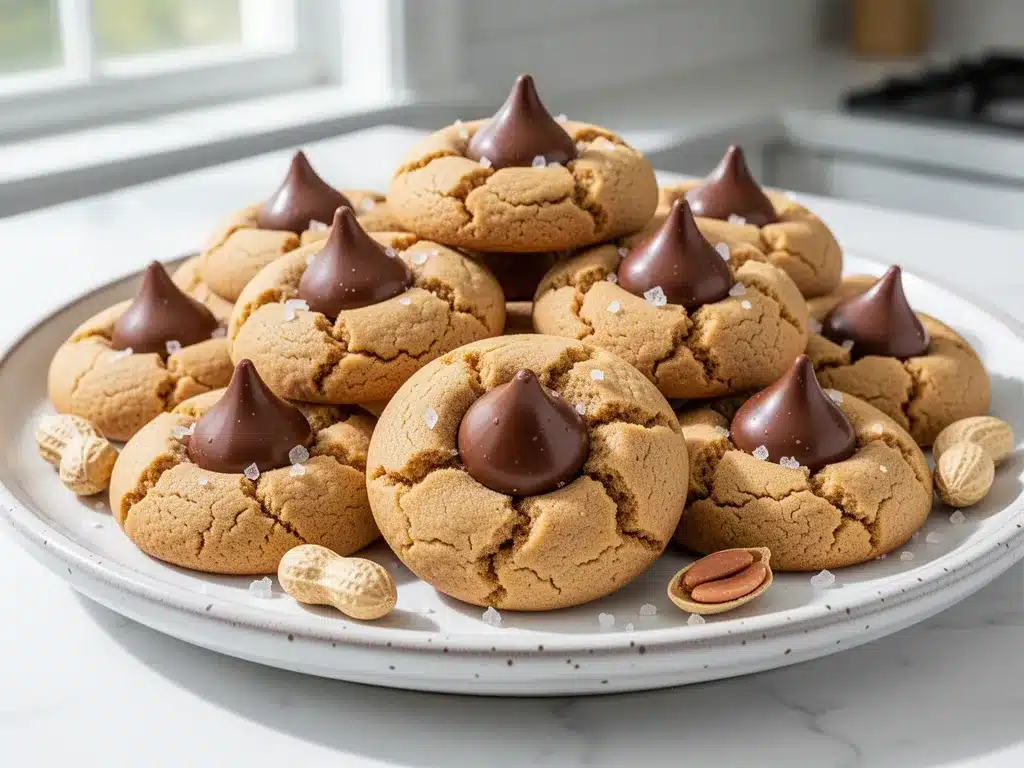
Hershey’s Kisses (1 box / 36 pieces) — The classic chocolate kiss. Milk chocolate is the standard, and it’s delicious. If you want a darker chocolate, you can use semi-sweet Hershey’s kisses or even dark chocolate chips, but the kiss shape is iconic. Pro tip: peel off the paper wrappers before you start baking. It’s easier to do it while the cookies are in the oven.
Optional: Sea salt flakes — A tiny pinch on top after baking. It cuts the sweetness and makes the peanut butter flavor pop. I love this addition, but it’s optional.
Common Questions About Ingredients
Can I use peanut butter chips instead of kisses? — Yes, but you lose the visual appeal. The kiss shape is part of the charm. If you’re using chips, just press them into the cookies slightly so they melt a bit.
Can I use crunchy peanut butter? — You can, but the cookies will have a weird texture. The recipe is designed for creamy peanut butter to get that smooth, fudgy consistency. If you love crunch, add a handful of chopped peanuts to the dough.
Where do I find yellow cake mix? — It’s in the baking aisle of any grocery store. If you can’t find yellow, you can use vanilla cake mix, but yellow has more butter flavor.
Equipment Needed
You don’t need fancy equipment for this. Here’s what I actually use. If you have these basics, you’re good to go.
Large mixing bowl — I use a 4-quart bowl. It needs to be big enough to mix the dough without flour flying everywhere. My stainless steel bowl is heavy and stable, which helps.
Measuring cups and spoons — Standard stuff. Dollar store versions work fine, but make sure your measuring cups are accurate. I use the nested set for dry ingredients and the liquid set for oil.
Cookie sheet or baking pan — I use a standard half-sheet pan (18×13 inches). Dark pans bake faster, so I lower the temperature by 25 degrees if I’m using one. Light-colored pans are more forgiving.
Parchment paper — Line your baking sheet. This is non-negotiable for easy cleanup and preventing sticking. I don’t grease the pan if I’m using parchment; it’s not necessary.
Cooling rack — Optional but helpful. I usually let them cool on the pan for 5 minutes, then move them to a rack. This prevents the bottoms from getting soggy.
Small spoon or spatula — For pressing the kisses into the cookies. I use a tiny teaspoon to help slide them off the foil wrapper.
Optional but nice:
– Cookie scoop — Makes uniform cookies. I use a 1.5-tablespoon scoop. It saves time and ensures even baking.
– Offset spatula — For smoothing out the dough balls if they’re too lumpy.
How to Make It: Step-by-Step
Alright, let’s make this! I’m walking you through exactly how I do it, including the little tricks I’ve picked up over the years. This is foolproof, so don’t overthink it.
Step 1: Prep Your Oven and Pans (2 minutes)
Preheat your oven to 350°F (175°C). Line two baking sheets with parchment paper. If you don’t have parchment, you can use silicone mats or lightly grease the pans, but parchment is best for cleanup. Take your Hershey’s Kisses out of their wrappers now. It’s easier to do this while the cookies are baking, but I like to have them ready to go.
Step 2: Mix the Dough (3 minutes)
In a large mixing bowl, combine the dry cake mix, creamy peanut butter, vegetable oil, egg, and vanilla extract. Stir with a wooden spoon or a sturdy spatula until a thick, uniform dough forms. It will look a bit crumbly at first, but keep mixing. It should come together into a ball. If it’s too dry, add a teaspoon of milk. If it’s too wet, add a tablespoon of cake mix.
Step 3: Roll the Cookies (5 minutes)
Scoop out about 1.5 tablespoons of dough per cookie. Roll them into balls between your palms. Place them on the prepared baking sheets, spacing them about 2 inches apart. They will spread, so don’t crowd them. I usually fit 12 cookies per sheet. If your dough is sticky, wet your hands slightly before rolling.
Step 4: Bake (10-12 minutes)
Place the baking sheets in the preheated oven. Bake for 10-12 minutes. The cookies should be set on the edges but still soft in the center. They will look slightly underdone when you take them out, and that’s perfect. Overbaking is the enemy of soft cookies. Rotate the pans halfway through baking for even color.
Step 5: Add the Kisses (2 minutes)
As soon as you take the cookies out of the oven, carefully press one Hershey’s Kiss into the center of each cookie. They should stick easily because the cookies are still warm and soft. If the kisses melt too much, you baked them too long. If they don’t stick, the cookies are too cool—let them sit for another minute.
Step 6: Cool and Serve
Let the cookies cool on the baking sheet for 5 minutes. Then, transfer them to a wire rack to cool completely. They will firm up as they cool. Enjoy warm for the best texture, or store in an airtight container for later.
Total Time: About 30 minutes (10 minutes active, 20 minutes mostly hands-off)
Expert Tips & Tricks
Here’s everything I’ve learned from making these dozens of times. These tips will save you from my mistakes.
Don’t Overbake
This is the #1 mistake. The cookies should look slightly underdone when you take them out. They continue to cook on the hot pan. If they look fully baked in the oven, they’ll be dry and crumbly once cooled. I usually take them out at 10 minutes, even if the recipe says 12.
Chill the Dough (Optional but Recommended)
If you have time, chill the dough balls in the fridge for 30 minutes before baking. This prevents them from spreading too much and keeps them thicker. I don’t always do this, but when I do, the cookies have a better texture.
Use Room Temperature Ingredients
The egg and peanut butter should be at room temperature. Cold ingredients can make the dough hard to mix. If you’re in a rush, microwave the egg for 10 seconds and the peanut butter for 15 seconds.
Peel the Kisses Early
I’ve burned my fingers trying to peel kisses while the cookies are hot. Peel them all before you start baking. It’s easier and safer.
Press Gently
Don’t mash the kiss into the cookie. Just press it in lightly. You want it to sit on top, not disappear into the dough.
Common Mistakes (and how to avoid them)
Mistake: Cookies are too flat. Fix: Your peanut butter might be too oily. Use a brand that’s thicker, or chill the dough.
Mistake: Cookies are too dry. Fix: You overbaked them. Next time, take them out 1-2 minutes earlier.
Mistake: Kisses don’t stick. Fix: The cookies cooled too much. Press them in immediately after baking.
Variations & Substitutions
Once you’ve nailed the basic version, here’s how you can mix it up. I’ve tried all of these.
Chocolate Cake Mix Version
Swap yellow cake mix for chocolate cake mix. This makes a double-chocolate peanut butter cookie. It’s richer and more intense. My kids love this version.
White Cake Mix Version
White cake mix works too, but it’s less flavorful. I prefer yellow for the buttery taste. If you use white, add an extra teaspoon of vanilla.
Gluten-Free
Use a gluten-free yellow cake mix. Everything else is naturally gluten-free. I’ve used Bob’s Red Mill GF cake mix, and it works great. Just check the label to ensure it’s certified GF.
Dairy-Free
Use dairy-free peanut butter and dairy-free chocolate kisses. Many brands make dairy-free kisses now. The texture might be slightly different, but it’s still delicious.
Lower-Sugar
Use a sugar-free cake mix if you can find one. It’s hard to find, but some brands make them. The cookies will be less sweet, so adjust your chocolate choice accordingly.
Add-Ins
Add ½ cup of chocolate chips or chopped peanuts to the dough for extra texture. I love adding a handful of mini chocolate chips for surprise bites.
Serving & Storage
How to Serve:
I usually serve these straight from the cooling rack, warm. They’re best eaten fresh, but they keep well. I pack them in a tin for gifts. They look professional and taste homemade.
Storage Instructions:
Store in an airtight container at room temperature for up to 5 days. Place a slice of bread in the container to keep them soft. They won’t freeze well because the kisses can get sticky. If you must freeze, freeze the cookies without the kisses, add them after thawing.
Reheating:
Microwave for 10 seconds to warm them up. They’ll be soft and gooey again.
Nutrition Information
I’m not a nutritionist, but here’s the breakdown if you’re tracking. This is per cookie (makes about 36 cookies).
| Nutrient | Amount |
|---|---|
| Calories | 110 |
| Protein | 2g |
| Carbs | 12g |
| Fat | 6g |
| Sugar | 8g |
| Sodium | 90mg |
Look, these are cookies. They’re sweet, they’re rich, and they’re meant to be enjoyed. Don’t stress the calories. Make a reasonable portion and savor them.
Final Thoughts
So that’s my go-to cake mix peanut butter blossom cookies recipe! I’ve probably talked your ear off at this point, but when you make a recipe this often, you have a lot to say about it. These cookies have saved me more times than I can count. They’re my answer to “what’s for dessert?” when I’m tired, don’t want takeout, and still want something that tastes really good. My kids are happy, my neighbors are happy, and I’m happy because I’m not stressed about cooking.
Make it yours! Try different cake mixes, swap in your favorite chocolate, or add nuts. The best recipes are the ones you adapt to your family’s tastes. If you make this, drop a comment and let me know what you think! I love hearing how recipes turn out in your kitchen. And if something doesn’t work, tell me that too—I’m here to help troubleshoot.
Happy baking! And I hope your kitchen smells half as good as mine does right now.
Frequently Asked Questions
Can I use crunchy peanut butter?
You can, but the cookies will have a different texture. The recipe is designed for creamy peanut butter to get that smooth, fudgy consistency. If you love crunch, add a handful of chopped peanuts to the dough instead.
Why did my cookies spread too much?
This usually happens if the peanut butter is too oily or if the dough wasn’t chilled. Use a thicker peanut butter brand, or chill the dough balls for 30 minutes before baking. Also, make sure your oven is actually at 350°F.
Can I make these ahead for a party?
Yes! Make the cookies up to 2 days ahead and store in an airtight container. Add the kisses right before serving so they don’t melt or stick to the container. They taste just as good the next day.
Can I freeze these cookies?
Freeze the cookies without the kisses. Let them cool completely, then store in a freezer-safe bag for up to 3 months. Thaw at room temperature and add the kisses when you’re ready to serve.
Can I use a different type of cake mix?
Yes, but yellow is best for flavor. White cake mix works but is less rich. Chocolate cake mix makes a double-chocolate cookie. Avoid funfetti or flavored mixes as they can alter the taste too much.
How do I get the kisses to stick?
Press them in immediately after taking the cookies out of the oven. The cookies need to be warm and soft. If they’ve cooled, the kisses won’t stick. Use a small spoon to help slide them off the wrapper.
Can I double this recipe?
Absolutely! Double everything and use two baking sheets. The cooking time stays the same. I do this when I’m feeding a crowd or meal-prepping. Just make sure your oven has room for both sheets.
Pin This Recipe!
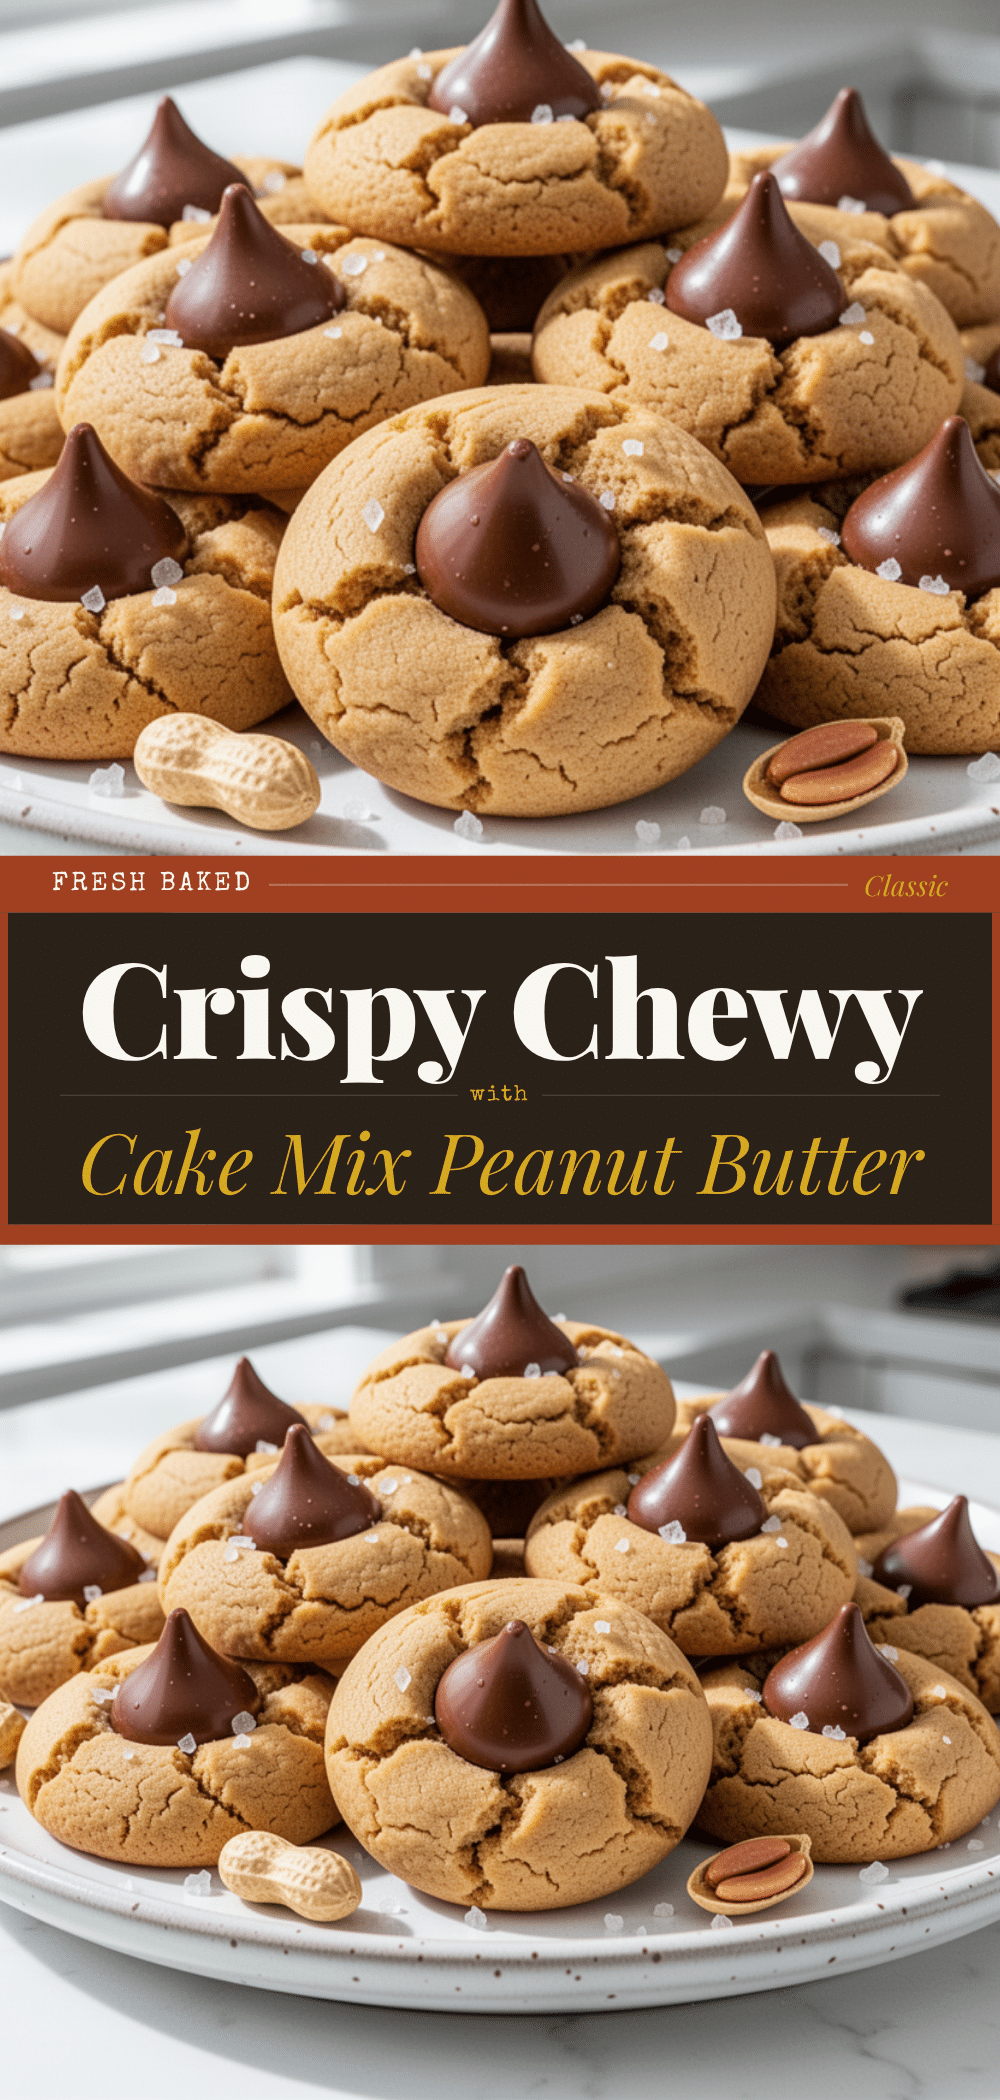
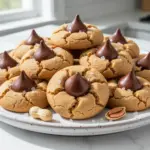
Cake Mix Peanut Butter Blossom Cookies
- Total Time: 30 minutes
- Yield: 36 cookies 1x
Description
These easy, chewy peanut butter blossom cookies use yellow cake mix for a foolproof, fast dessert that delivers bakery-quality flavor with minimal effort.
Ingredients
- 15.25 ounces yellow cake mix
- 1 cup creamy peanut butter
- 1/2 cup vegetable oil
- 1 large egg
- 1 teaspoon vanilla extract
- 1 box (36 pieces) Hershey’s Kisses
- Sea salt flakes (optional)
Instructions
- Preheat oven to 350°F (175°C). Line two baking sheets with parchment paper.
- Peel the paper wrappers off the Hershey’s Kisses.
- In a large mixing bowl, combine the cake mix, peanut butter, vegetable oil, egg, and vanilla extract. Stir until a thick, uniform dough forms.
- Scoop about 1.5 tablespoons of dough per cookie and roll into balls. Place on prepared baking sheets, spacing them 2 inches apart.
- Bake for 10-12 minutes until edges are set but centers are still soft. Rotate pans halfway through.
- Immediately remove from oven and press one Hershey’s Kiss into the center of each warm cookie.
- Let cookies cool on the baking sheet for 5 minutes, then transfer to a wire rack to cool completely.
Notes
Do not overbake; cookies should look slightly underdone when removed from the oven as they continue to cook on the hot pan. For best texture, serve warm. Store in an airtight container at room temperature for up to 5 days. To keep soft, place a slice of bread in the container. If freezing, freeze cookies without kisses and add kisses after thawing.
- Prep Time: 10 minutes
- Cook Time: 10-12 minutes
- Category: Dessert
- Cuisine: American
Nutrition
- Serving Size: 1 cookie
- Calories: 110
- Sugar: 8
- Sodium: 90
- Fat: 6
- Saturated Fat: 2
- Carbohydrates: 12
- Protein: 2
Keywords: cake mix cookies, peanut butter blossoms, easy dessert, last minute cookies, peanut butter cookies, chocolate kiss cookies