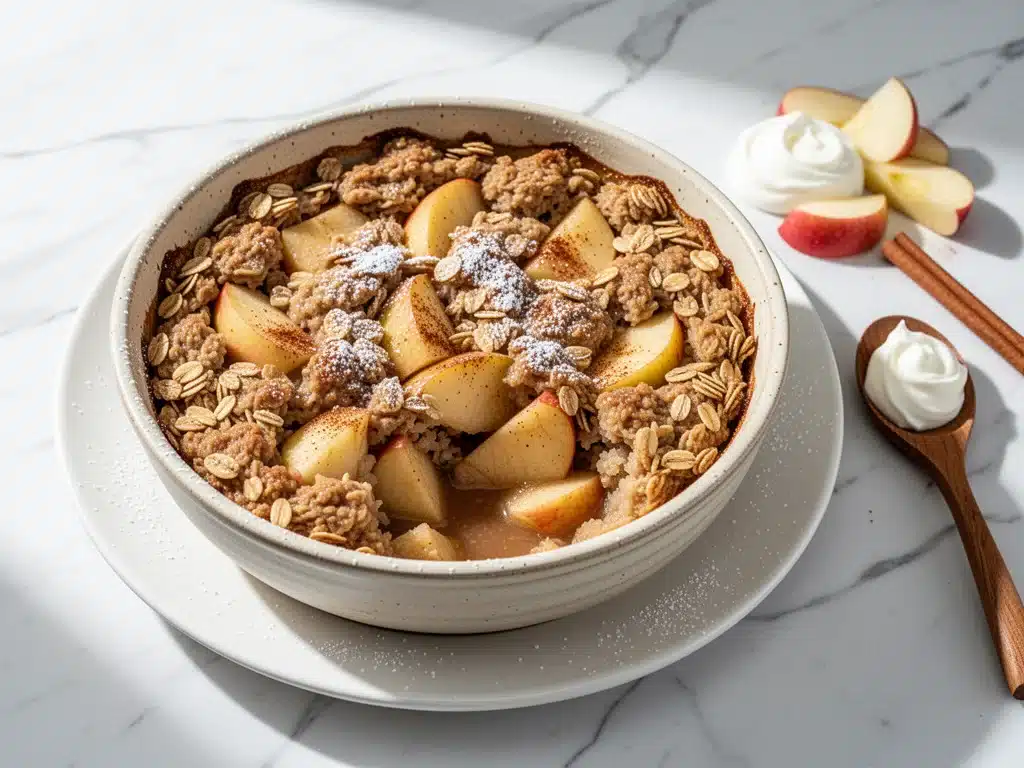
I have a confession. For years, my morning routine was a chaotic sprint. Coffee in one hand, keys in the other, trying to shove a granola bar into my toddler’s mouth before we bolted out the door. It was stressful, it was rushed, and let’s be honest—it tasted like cardboard and regret. Then, three winters ago, I got sick of the morning chaos and decided to try something different. I wanted breakfast that felt like a hug. Something warm, comforting, and actually made from scratch, but without the 20-minute fuss of flipping pancakes at 6:30 AM.
I stumbled upon the idea of a baked oatmeal casserole, but most recipes I found were either too mushy, too bland, or required ingredients I didn’t keep in my pantry. So, I tweaked. I tested. I failed. I made batches that were dry as dust and batches that were soup masquerading as breakfast. But then, one Saturday, I got it right. The kind of right where the smell of cinnamon and baked apples drifts through the house at 5:00 AM, and my husband walks into the kitchen before I’ve even had his first sip of coffee, just to check on it.
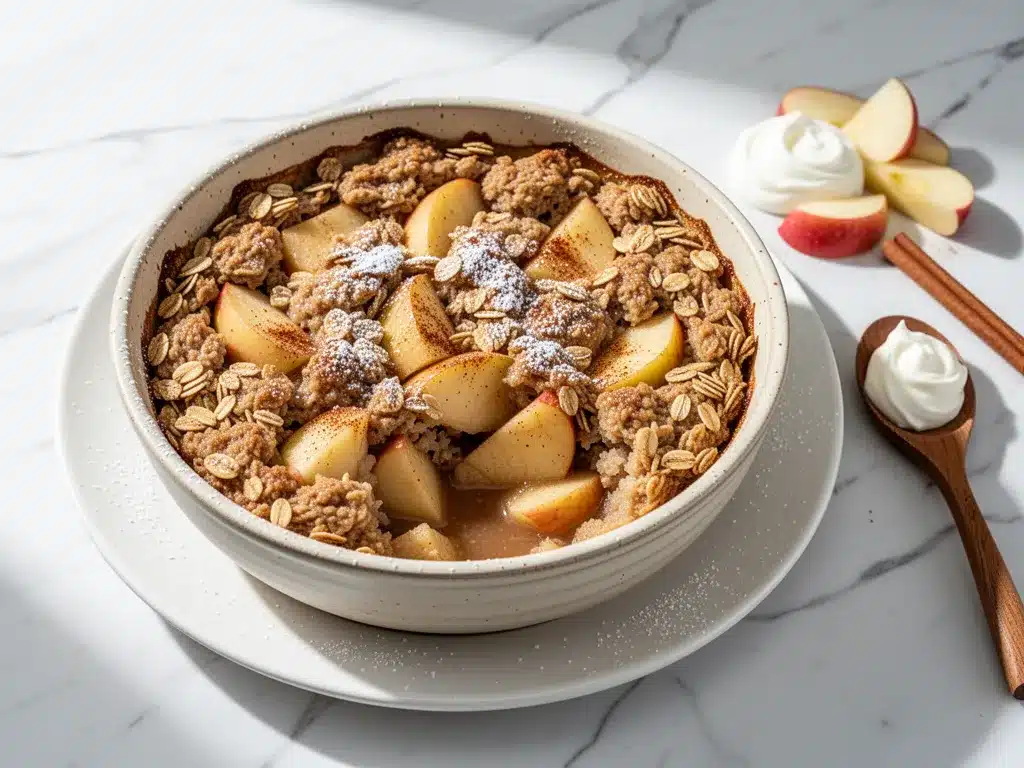
This Apple Cinnamon Baked Oatmeal Casserole is now our holy grail. It’s the reason we wake up early on weekends. It’s the reason I don’t dread mornings anymore. It’s thick, chewy, studded with tender apples, and tastes like autumn in a bowl. I’ve made this for brunches with twenty people, for sleepy school mornings, and even for late-night snacks (don’t judge me, it’s basically apple pie for breakfast). If you’re tired of dry toast and sugary cereal, you need to make this. It’s easy, it’s make-ahead, and it’s going to become your family’s new favorite ritual.
Why You’ll Love This Apple Cinnamon Baked Oatmeal Casserole
There are about ten reasons I keep making this casserole, but here are the big ones that keep it on my weekly rotation. This isn’t just another oatmeal recipe; it’s a game-changer for how we start the day.
Stupid Simple Make-Ahead Magic — Seriously, the night before, you dump ingredients in a dish. In the morning, you pop it in the oven. That’s it. I’ve made this while half-asleep, and it still comes out perfect. It’s the ultimate “set it and forget it” breakfast.
Tastes Like Dessert, Acts Like Breakfast — The combination of tart Granny Smith apples and sweet cinnamon creates this incredible depth of flavor. It’s cozy without being heavy. My kids think it’s a treat, but it’s packed with fiber and protein. Win-win.
Feeds an Army (or Just You and Your Hangry Teen) — This recipe makes a full 9×13 casserole. It’s perfect for feeding a crowd on Sunday morning or having leftovers for lunch all week. I often cut it into squares and freeze them, so I have grab-and-go breakfasts for weeks.
Texture Perfection — Some baked oatmeals turn into mush. This one? It has a crumbly, crisp top and a soft, chewy interior. The oats soak up the liquid but hold their structure. It’s substantial enough to keep you full until lunch.
Budget-Friendly — Oats, apples, eggs, milk. These are pantry staples. You’re not buying expensive superfoods or weird health supplements. You’re making real food for pennies on the dollar. Plus, it’s cheaper than buying six individual muffins at the coffee shop.
This is my go-to when I need breakfast to just work. No complicated techniques, no weird ingredients, just reliable, delicious food that makes everyone happy. It’s comfort food that fuels you.
Ingredients You’ll Need for the Best Apple Cinnamon Baked Oatmeal
Here’s the best part: you probably have most of this already in your kitchen. I’m particular about a few things here, but mostly, this is simple, wholesome food. I use old-fashioned rolled oats because they hold their texture better than quick oats, which can get gummy. For the apples, I swear by Granny Smith for their tartness, but a mix of Honeycrisp and Granny Smith is perfect if you want a balance of sweet and tart.
For the Base:
Old-fashioned rolled oats (3 cups / 270g) — Do not use quick oats or steel-cut oats. Quick oats turn to mush; steel-cut won’t cook through in this time. I love Bob’s Red Mill, but any brand works. Look for “old-fashioned” or “large flake.”
Apples (3 medium, peeled and diced / about 450g) — I use a mix of Granny Smith and Honeycrisp. Peel them if your family is picky about skins (my kids are), but leaving them on adds fiber and color. Dice them into small, bite-sized cubes so they distribute evenly.
Eggs (3 large, beaten) — These act as the binder. They hold the casserole together so you can scoop it out. Room temperature eggs mix easier, but cold ones work fine too.
Milk (2 cups / 480ml) — Whole milk makes it richest, but I often use half-and-half for that extra creamy texture. Almond or oat milk works for dairy-free versions, but the texture will be slightly less custardy.
For the Flavor:
Maple syrup (½ cup / 120ml) — Real maple syrup, not pancake syrup. It has a deeper, more complex sweetness. If you’re watching sugar, you can reduce to ⅓ cup, but don’t go lower or it won’t set right.
Vanilla extract (2 teaspoons) — Don’t skimp here. Vanilla brings out the apple flavor. Pure extract is worth the extra dollar.
Cinnamon (2 teaspoons ground) — The star of the show. Use fresh cinnamon if you can; old cinnamon loses its punch. I like a generous amount because I love that warm spice kick.
Nutmeg (½ teaspoon freshly grated) — Just a pinch adds that “bakery” smell. If you don’t have fresh nutmeg, pre-ground is fine, but fresh is better.
Salt (½ teaspoon) — Essential. Salt makes the sweet taste sweeter and balances the cinnamon. Never skip it.
For the Topping (Optional but Recommended):
Butter (3 tablespoons, softened) — I use unsalted butter. It adds richness and helps the topping crisp up.
Brown sugar (½ cup / 100g) — Packed. This gives that caramel-like crunch on top. Light or dark brown sugar both work.
Flour (¼ cup / 30g) — All-purpose flour helps bind the crumble topping.
Extra cinnamon (1 teaspoon) — For sprinkling on top.
Walnuts or pecans (½ cup, chopped) — I add these for crunch. If you have nut allergies, skip them or use pumpkin seeds. They’re optional but add a nice texture contrast.
Equipment Needed
You don’t need fancy equipment for this. Here’s what I actually use.
9×13 inch baking dish — I use a glass Pyrex dish because it heats evenly. Ceramic works too. Avoid dark metal pans as they can burn the bottom. A 9×13 is crucial; if you use a smaller dish, your casserole will be too thick and won’t cook evenly.
Large mixing bowl — Any big bowl will do. I use a 4-quart bowl to have enough room to stir everything without spilling.
Whisk — For beating the eggs and milk together smoothly. A fork works in a pinch, but a whisk is faster.
Peeler and knife — For prepping the apples. A Y-peeler is my favorite because it’s easy on the hands.
Cutting board — Any size. I keep one dedicated to fruit to avoid cross-contamination.
Spatula — For scraping the bowl and spreading the batter. A silicone spatula is best because it gets every bit of batter out.
Small bowl — For mixing the crumble topping. Keeps your workspace tidy.
Measuring cups and spoons — Standard stuff. Dollar store versions work fine for this, as long as they’re accurate.
Aluminum foil — Optional, for covering the top if it browns too quickly.
How to Make It: Step-by-Step
Alright, let’s make this! I’m walking you through exactly how I do it, including the little tricks I’ve picked up over years of making this.
Step 1: Prep Your Oven and Dish (5 minutes)
Preheat your oven to 350°F (175°C). This is crucial. You want a steady, moderate heat to cook the oats through without burning the top. Grease your 9×13 baking dish with a little butter or non-stick spray. I like to grease it well because this casserole can stick if you’re not careful. Set it aside.
Step 2: Prep the Apples (5 minutes)
Peel and dice your apples. I cut them into ½-inch cubes. If they’re too big, you get huge chunks of apple in every bite, which some people don’t like. If they’re too small, they turn to applesauce. Aim for bite-sized. Toss them with a teaspoon of lemon juice if you want to prevent browning, though it’s not strictly necessary since you’re baking immediately.
Step 3: Mix the Wet Ingredients (2 minutes)
In your large mixing bowl, whisk together the beaten eggs, milk, maple syrup, vanilla extract, ground cinnamon, nutmeg, and salt. Whisk until it’s a uniform pale yellow color. This ensures the spices are evenly distributed. No one wants a mouthful of pure cinnamon!
Step 4: Combine Everything (3 minutes)
Add the rolled oats and diced apples to the wet mixture. Stir gently but thoroughly. You want every oat to get coated in the liquid. Let this mixture sit for 5-10 minutes while you prep the topping. This step is key—it lets the oats start absorbing the liquid, which prevents a watery casserole later. Trust me, don’t skip the soak.
Step 5: Make the Crumble Topping (3 minutes)
In a small bowl, combine the softened butter, brown sugar, flour, and extra cinnamon. Use your fingers or a fork to mix it until it resembles coarse sand or wet pebbles. If you have nuts, stir them in now. You want clumps, not a paste. These clumps are what give you that delicious crunch on top.
Step 6: Assemble and Bake (40-45 minutes)
Pour the oat mixture into your prepared baking dish. Spread it out evenly. Sprinkle the crumble topping over the entire surface. You don’t need to cover every square inch, but try to distribute it evenly for consistent flavor in every bite.
Place in the preheated oven. Bake for 40-45 minutes. You’ll know it’s done when the top is golden brown and crisp, and the center is set (not jiggly). If the top starts getting too dark after 30 minutes, loosely tent it with aluminum foil. This prevents burning while the inside finishes cooking.
Step 7: Cool and Serve (10 minutes)
This is the hardest part: waiting. Let the casserole cool for at least 10 minutes before cutting. It needs to set. If you cut it immediately, it will be soupy. After 10 minutes, it firms up enough to slice into squares. Serve warm with a dollop of Greek yogurt or a drizzle of extra maple syrup if you’re feeling indulgent.
Total Time: About 55 minutes (10 minutes prep, 45 minutes bake).
Expert Tips & Tricks for Perfect Baked Oatmeal
Here’s everything I’ve learned from making this dozens of times. These tips will save you from my mistakes.
The Soak is Non-Negotiable
I cannot stress this enough. Letting the oats sit in the milk mixture for 10 minutes before baking is what gives you that creamy, cooked texture. If you skip this, you’ll have chewy, raw-tasting oats on top and mushy ones on the bottom. I set a timer so I don’t forget.
Don’t Overbake
Ovens vary. Check your casserole at 40 minutes. If a knife inserted into the center comes out clean, it’s done. If it’s wet, give it 5 more minutes. Overbaking dries out the oats and makes the apples tough. You want it moist and tender.
Room Temperature Eggs
While not critical, room temperature eggs incorporate into the milk mixture more easily, creating a smoother batter. If I’m rushing, I just run my eggs under warm water for a minute.
Customize Your Apple Mix
Granny Smiths hold their shape best. But if you love softer apples, add some Fuji or Gala. Just know that softer apples will break down more, making the casserole slightly denser. I usually do 2 Granny Smiths and 1 Honeycrisp for the best balance.
Make-Ahead Strategy
You can assemble this the night before! Mix everything, top it, cover it with plastic wrap, and refrigerate overnight. In the morning, just pop it in the oven. You might need to add 5-10 minutes to the bake time since it’s starting cold. This is my favorite way to do it for busy weeknights.
Variations & Substitutions
Once you’ve nailed the basic version, here’s how you can mix it up. I’ve tried all of these.
Blueberry Lemon Variation
Swap the apples for 2 cups of fresh or frozen blueberries. Add the zest of one lemon to the wet mixture. It’s bright, tangy, and totally different. My daughter loves this version.
Chocolate Chip Cookie Dough
Add ½ cup of chocolate chips to the oat mixture. Use a bit less cinnamon and add a teaspoon of vanilla bean paste. It tastes like a breakfast cookie. Indulgent, but worth it for special weekends.
Protein-Packed Version
Add 1 scoop of unflavored or vanilla protein powder to the dry oats. You may need an extra ¼ cup of milk because protein powder absorbs liquid. This keeps you full for hours. Great for post-workout breakfasts.
Gluten-Free
Simply use certified gluten-free rolled oats. Everything else is naturally gluten-free. I use Bob’s Red Mill GF oats, and they work perfectly. No texture difference at all.
Dairy-Free
Use almond, oat, or coconut milk instead of dairy milk. For the topping, use coconut oil or vegan butter instead of regular butter. It’s still creamy and delicious.
Vegan
Replace eggs with a “flax egg” (1 tablespoon ground flaxseed mixed with 3 tablespoons water per egg, let sit for 5 minutes). Use maple syrup and plant-based milk/butter. The texture will be slightly different but still tasty.
Serving & Storage
How to Serve:
I usually serve this straight from the dish at the breakfast table. It looks rustic and stays warm. But here are other ways I’ve enjoyed it:
Side Dishes:
- Crispy Bacon or Sausage — For a savory-sweet combo, I serve this with salty pork. It’s a classic breakfast board.
- Fresh Berries — A handful of fresh raspberries or strawberries on top adds freshness and cuts the richness.
- Greek Yogurt — A dollop of plain Greek yogurt adds protein and a nice tangy contrast.
- Whipped Cream — Okay, maybe not every day, but on Sunday mornings, a little whipped cream makes it feel like a treat.
Storage Instructions:
Refrigerator:
Store leftovers in an airtight container for up to 5 days. The flavors actually meld and get better after a day or two. I find Tuesday’s version is better than Monday’s.
Reheating:
Microwave: Heat individual squares for 1-2 minutes. Sprinkle a few drops of water on top before heating to keep it moist.
Oven: Reheat a larger portion in a 350°F oven for 15-20 minutes, covered with foil, until warm throughout.
Freezing:
This freezes beautifully! Cut into squares, wrap individually in plastic wrap, then place in a freezer bag. Freeze for up to 3 months. To eat, thaw overnight in the fridge and microwave in the morning. It’s the ultimate meal prep hack.
Pro Tip: If your leftovers seem dry after reheating, add a splash of milk before microwaving. It revives the texture instantly.
Nutrition Information
I’m not a nutritionist, but here’s the breakdown if you’re tracking. This is per serving (based on 9 squares).
Per Serving:
- Calories: 280
- Protein: 8g
- Carbs: 45g
- Fiber: 5g
- Sugar: 18g (from natural fruit sugars and maple syrup)
- Fat: 9g
- Saturated Fat: 5g
- Sodium: 180mg
What’s Good:
- High in fiber from oats and apples.
- Good source of complex carbs for sustained energy.
- Lower in sugar than most breakfast pastries or muffins.
What to Know:
- Contains dairy and gluten (unless modified).
- Sugar content can be adjusted by reducing maple syrup.
- This is a hearty meal, not a light snack. It will keep you full.
My Take:
Look, this is comfort food. It has oats, apples, sugar, and butter. It’s not a diet recipe, but it’s way better than a donut. It’s made from real ingredients, and you know exactly what’s in it. When I want to make it lighter, I reduce the syrup and add extra nuts for healthy fats. But usually? I just enjoy a square and love starting my day with something warm and homemade.
Final Thoughts
So that’s my go-to Apple Cinnamon Baked Oatmeal Casserole! I’ve probably talked your ear off at this point, but when you make a recipe this often, you have a lot to say about it. This has saved our mornings more times than I can count. It’s my answer to “what’s for breakfast” when I’m tired, don’t want to cook, and still want something that tastes really good.
My kids are happy, my husband’s happy, and I’m happy because I’m not stressed about cooking. It’s the kind of recipe that brings the family together, even if it’s just for 15 minutes before the chaos of the day begins.
Make it yours! Try different fruits, swap the nuts, adjust the sweetness. The best recipes are the ones you adapt to your family’s tastes. If you make this, drop a comment and let me know what you think! I love hearing how recipes turn out in your kitchen. And if something doesn’t work, tell me that too—I’m here to help troubleshoot.
Happy cooking! And I hope your kitchen smells half as good as mine does right now.
Frequently Asked Questions
Can I use quick oats instead of old-fashioned oats?
I really don’t recommend it. Quick oats are pre-cooked and thinner, so they absorb liquid too fast and turn the casserole into a mushy, porridge-like consistency. Old-fashioned rolled oats have the right structure to hold up during baking, giving you that chewy, substantial texture. If you’re in a pinch, you can pulse old oats in a blender for a few seconds to make them slightly smaller, but don’t use the quick kind.
Can I make this ahead and bake it in the morning?
Yes! This is actually my preferred method. Assemble the casserole the night before, cover it tightly with plastic wrap or foil, and refrigerate. In the morning, take it out, let it sit on the counter for 15 minutes while the oven preheats, then bake as directed. You may need to add 5-10 minutes to the baking time since the mixture starts cold. This is perfect for busy weekdays.
Why did my baked oatmeal turn out watery?
This usually happens for two reasons. First, you didn’t let the oats soak in the liquid for at least 10 minutes before baking. The oats need time to absorb the milk. Second, you used apples with high water content (like Red Delicious) and didn’t drain them, or you added too much milk. Next time, use firmer apples like Granny Smith and measure your milk carefully. If it’s already watery after baking, you can return it to the oven for 5-10 minutes uncovered to evaporate excess moisture.
How do I store leftovers?
Let the casserole cool completely, then cover it with plastic wrap or transfer squares to an airtight container. It will last in the refrigerator for up to 5 days. For best texture, reheat individual portions in the microwave for 1-2 minutes. You can also freeze it for up to 3 months. Wrap squares individually in plastic wrap and place them in a freezer bag. Thaw overnight in the fridge before reheating.
Can I add other fruits to this recipe?
Absolutely! Apples are classic, but this recipe is very versatile. Try chopped pears, diced peaches (fresh or canned), or blueberries. If you use canned fruit, drain it well to avoid extra liquid. If you use berries, toss them in a little flour before adding to prevent them from sinking to the bottom. Just keep in mind that sweeter fruits may require less maple syrup.
Is this recipe gluten-free?
Not by default, as standard rolled oats often contain traces of gluten due to processing. However, you can easily make it gluten-free by using certified gluten-free rolled oats. Everything else in the recipe (apples, milk, eggs, spices) is naturally gluten-free. Just double-check your oat packaging to ensure it’s labeled GF.
Can I make this in a muffin tin?
Yes! This works great for individual portions. Grease a 12-cup muffin tin and divide the batter evenly among the cups. Bake at 350°F for 20-25 minutes. They’re perfect for meal prepping or taking to work. The baking time is significantly less, so keep an eye on them to avoid overcooking.
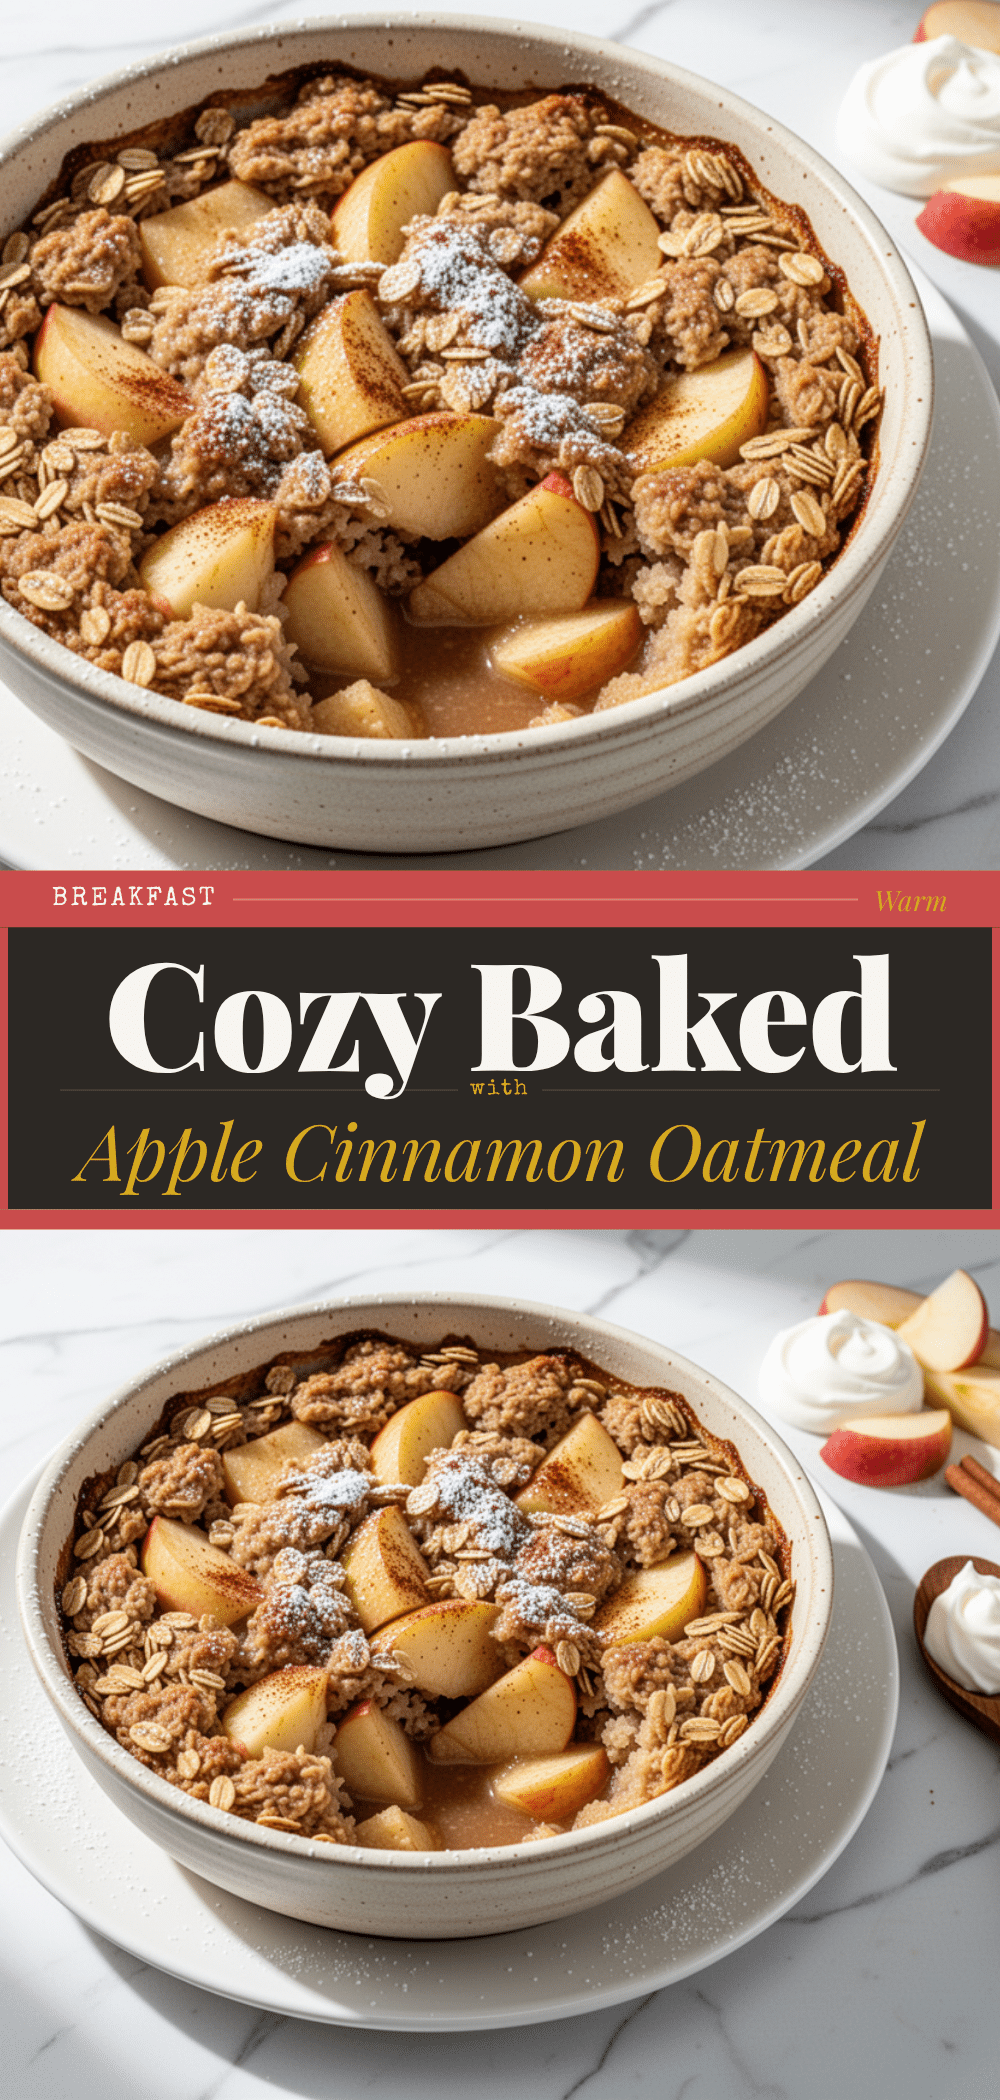
Pin This Recipe!
Apple Cinnamon Baked Oatmeal Casserole
- Total Time: 60 minutes
- Yield: 9 servings 1x
Description
A thick, chewy, and comforting baked oatmeal casserole studded with tender apples and warm cinnamon. This make-ahead breakfast is easy to prepare, budget-friendly, and perfect for feeding a crowd or meal prepping for the week.
Ingredients
- 3 cups old-fashioned rolled oats
- 3 medium apples (peeled and diced, approx. 450g; mix of Granny Smith and Honeycrisp recommended)
- 3 large eggs (beaten)
- 2 cups milk (whole, half-and-half, or dairy-free alternative)
- 1/2 cup maple syrup
- 2 teaspoons vanilla extract
- 2 teaspoons ground cinnamon
- 1/2 teaspoon freshly grated nutmeg
- 1/2 teaspoon salt
- 3 tablespoons softened butter (for topping)
- 1/2 cup packed brown sugar (for topping)
- 1/4 cup all-purpose flour (for topping)
- 1 teaspoon extra cinnamon (for topping)
- 1/2 cup chopped walnuts or pecans (optional)
Instructions
- Preheat oven to 350°F (175°C). Grease a 9×13 inch baking dish with butter or non-stick spray.
- Peel and dice apples into 1/2-inch cubes. Toss with lemon juice if desired to prevent browning.
- In a large mixing bowl, whisk together beaten eggs, milk, maple syrup, vanilla extract, ground cinnamon, nutmeg, and salt until uniform.
- Add rolled oats and diced apples to the wet mixture. Stir to coat evenly. Let the mixture sit for 5-10 minutes to allow oats to absorb liquid.
- In a small bowl, combine softened butter, brown sugar, flour, and extra cinnamon. Mix until it resembles coarse sand. Stir in nuts if using.
- Pour the oat mixture into the prepared baking dish and spread evenly. Sprinkle the crumble topping over the surface.
- Bake for 40-45 minutes until the top is golden brown and crisp, and the center is set. Tent with foil if browning too quickly.
- Let cool for at least 10 minutes before cutting into squares to allow it to set. Serve warm.
Notes
Do not use quick oats or steel-cut oats as they will alter the texture. Letting the oats soak in the liquid for 10 minutes is crucial for the right consistency. This recipe can be assembled the night before and refrigerated overnight; add 5-10 minutes to baking time if baking from cold. For gluten-free, use certified gluten-free oats. For dairy-free, use plant-based milk and butter. For vegan, use flax eggs and plant-based butter/milk.
- Prep Time: 15 minutes
- Cook Time: 45 minutes
- Category: Breakfast
- Cuisine: American
Nutrition
- Serving Size: 1 square (approx. 1/
- Calories: 280
- Sugar: 18
- Sodium: 180
- Fat: 9
- Saturated Fat: 5
- Carbohydrates: 45
- Fiber: 5
- Protein: 8
Keywords: baked oatmeal, apple cinnamon, make-ahead breakfast, healthy breakfast, meal prep, comfort food, gluten-free option, dairy-free option