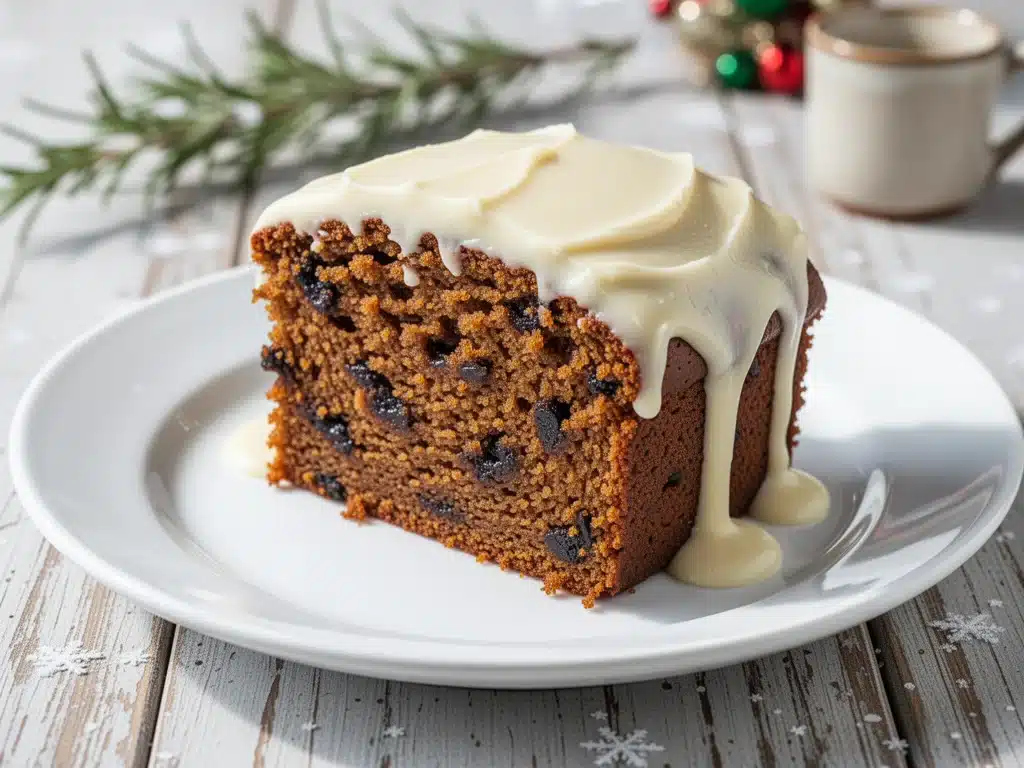
Last November, I attempted to bake a gingerbread cake for my office holiday party. I wanted something that looked sophisticated enough for a high-end bakery but tasted like it had been made by my grandmother in a drafty farmhouse kitchen. I followed a “trusted” online recipe that promised a moist, spiced crumb. What I got was a dense, dry brick that tasted like cardboard and regret. My colleagues were polite, but I could see the polite grimaces. That night, I ate a slice in silence, questioning every life choice that led me to that box of molasses.
I refused to let a bad gingerbread cake define my holiday baking reputation. So, I went back to the drawing board. I dug out my old, stained recipe card from my aunt Carol, who baked gingerbread every Christmas from 1978 to 2003. But I also did some serious testing. I tried swapping butters for oils, experimented with different types of brown sugar, and, most importantly, I stopped being afraid of the spices. The result? This Winter Spiced Gingerbread Cake with Cream Cheese Glaze. It’s the kind of cake that smells like a hug. It’s moist without being soggy, spicy without being overwhelming, and that cream cheese glaze? It’s the game-changer that turns a simple tea-time cake into a show-stopping dessert.
I’ve made this cake at least twelve times over the last three holiday seasons. I’ve served it to picky eaters, I’ve served it to professional pastry chefs (who were surprisingly impressed), and I’ve served it straight from the pan at 2 AM when the kids were asleep and I just needed a piece of cake. It never fails. It’s forgiving, it’s delicious, and it makes your entire house smell like Christmas morning.
Why You’ll Love This Recipe
There are a lot of gingerbread recipes out there. Some are too dry, some are too sweet, and some taste like they’re trying too hard to be “authentic” with weird ingredients you can’t pronounce. This recipe is different. It’s built on balance and comfort. Here’s why this Winter Spiced Gingerbread Cake with Cream Cheese Glaze has earned a permanent spot in my holiday rotation.
- Actually Moist — The secret is in the ratio of molasses to oil. I use a mix of light olive oil and dark molasses. The oil keeps the crumb tender, while the molasses adds that deep, robust flavor. I’ve tested this with butter, but oil-based gingerbread stays moist for days, even in the fridge. It doesn’t dry out on day three like cake does.
- Spice That Actually Shines — Most recipes just dump in cinnamon. I use a blend of cinnamon, ginger, cloves, and a tiny pinch of nutmeg. It’s warm, aromatic, and complex. You’ll smell it before you even open the oven door. It’s the scent of the holidays, bottled.
- Glaze That Doesn’t Run Off — I’ve tried powdered sugar glazes, and they crack or slide right off. This cream cheese glaze is thick, tangy, and stable. It sets into a soft layer that cuts through the sweetness of the cake. It’s like frosting meets cheesecake. Trust me, you need it.
- One-Bowl Wonder — You don’t need a stand mixer. You don’t need fancy equipment. You need one large bowl, a whisk, and 20 minutes of active time. This is perfect for holiday entertaining when your kitchen is chaos. I make this while helping my kids wrap presents. It’s that easy.
- Make-Ahead Friendly — This cake actually gets better after sitting overnight. The spices meld, the moisture redistributes, and the glaze sets perfectly. I usually bake it the night before a party. It saves me so much stress on the day of.
So basically, if you want a dessert that looks impressive, tastes incredible, and doesn’t require a degree in baking to make, this is it. It’s my go-to when I need to bring something to a potluck, a holiday party, or just need to cheer myself up on a gray December afternoon.
Ingredients You’ll Need
Here’s the best part: you probably have most of this already in your pantry. Gingerbread is one of those recipes that relies on staples, but the quality of those staples matters. I’m particular about three things here, and I’ll tell you exactly why.
For the Cake
Dark Molasses (½ cup / 120ml) — This is non-negotiable. Don’t use light molasses or treacle if you can help it. You want that dark, robust, slightly bitter depth. It’s the backbone of the flavor. If you buy cheap molasses, it can be watery. Look for a thick, syrupy consistency. I use Grandma’s brand because it’s consistent.
Light Brown Sugar (1 cup / 200g) — Packed down. This adds moisture and a hint of caramel. You can use dark brown sugar if you want a deeper flavor, but light brown is sweeter and more traditional for this specific cake. Don’t use white sugar; it won’t give you the right texture.
Neutral Oil (½ cup / 120ml) — I use light olive oil or grapeseed oil. Oil keeps the cake moist longer than butter does. If you really want to use butter, melt it and let it cool, but the texture will be slightly denser. Oil is the secret to that tender crumb.
Large Eggs (2 large, room temperature) — Room temperature eggs emulsify better with the oil and molasses. If you’re in a rush, just drop them in warm water for 5 minutes. Cold eggs can cause the mixture to seize up a bit.
All-Purpose Flour (2 cups / 250g) — Spoon and level, don’t scoop. Scooping packs the flour and makes the cake dry. If you scoop, you might need 2½ cups. Spooning ensures you get the right amount. I use Gold Medal flour because it’s consistent.
Baking Soda (1 teaspoon) — This reacts with the acidic molasses to create lift. Don’t skip it. Don’t substitute baking powder unless you want a different texture.
Salt (½ teaspoon) — Essential for balancing the sweetness. Use fine sea salt or table salt.
For the Spice Blend
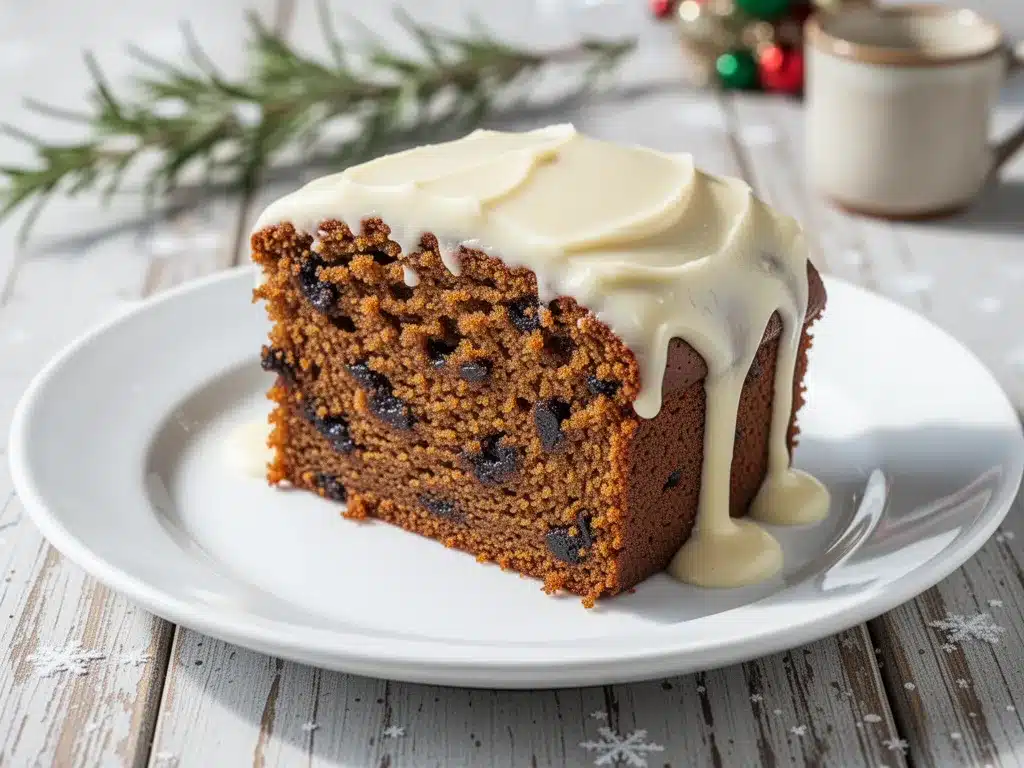
Ground Ginger (2 teaspoons) — Yes, ground. Freshly grated ginger is too wet and pungent for this. Ground ginger has that warm, earthy flavor that defines gingerbread. If it’s old and dusty, buy new. You’ll taste the difference.
Ground Cinnamon (1 teaspoon) — Good quality cinnamon makes a huge difference. I use Saigon cinnamon for a stronger punch, but Ceylon works too.
Ground Cloves (½ teaspoon) — Don’t go overboard. Cloves are strong. ½ teaspoon is perfect. If you love cloves, you can go up to ¾ teaspoon, but be careful.
Ground Nutmeg (¼ teaspoon) — Freshly grated nutmeg is amazing, but ground is fine here. It adds a subtle warmth that ties everything together.
For the Cream Cheese Glaze
Block Cream Cheese (4 oz / 113g) — Full-fat, softened to room temperature. Do not use low-fat or whipped cream cheese. It won’t set right and will be too runny. I use Philadelphia because it’s reliable.
Powdered Sugar (1 cup / 120g) — Sifted if it’s clumpy. You want a smooth, lump-free glaze.
Vanilla Extract (½ teaspoon) — Pure vanilla, not imitation. It adds a nice aromatic note.
Milk or Cream (1-2 tablespoons) — Only if needed. The glaze should be thick. Add milk one teaspoon at a time if it’s too thick to spread.
Equipment Needed
You don’t need fancy equipment for this. Here’s what I actually use.
9×9 Inch Square Pan — Or an 8×8 pan if you want a taller, denser cake. I prefer 9×9 for a thinner, fudgier slice. Grease it well and line the bottom with parchment paper for easy removal. I use non-stick spray with flour in it for extra insurance.
Large Mixing Bowl — Something big enough to hold all the ingredients. Glass or ceramic is nice because you can see everything, but metal or plastic works fine.
Whisk — A standard balloon whisk is perfect. You need to aerate the wet ingredients slightly.
Spatula — A rubber spatula for scraping down the sides of the bowl. You don’t want to waste any molasses.
Cooling Rack — Essential. Don’t glaze a warm cake. It’ll melt into a puddle. I use a wire rack that sits on my counter.
Small Bowl — For the glaze. A ramekin or small mixing bowl works.
Pastry Brush — Optional, but nice for brushing off excess powdered sugar if you want a clean look. I usually just skip this step because I’m not that fancy.
How to Make It: Step-by-Step
Alright, let’s make this! I’m walking you through exactly how I do it, including the little tricks I’ve picked up over the years.
Step 1: Prep Your Oven and Pan (5 minutes)
Preheat your oven to 350°F (175°C). Grease your 9×9 inch square pan thoroughly. I line the bottom with parchment paper for easy removal, but it’s not strictly necessary if you grease well. This takes less time than you think, but it prevents sticking disasters.
Step 2: Mix the Wet Ingredients (3 minutes)
In your large bowl, whisk together the molasses, brown sugar, oil, and eggs. Whisk vigorously for about a minute. You want the mixture to look glossy and emulsified. It should look like a thick, dark syrup. If it looks separated, keep whisking. This step is crucial for the texture.
Step 3: Add the Dry Ingredients (2 minutes)
Add the flour, baking soda, salt, ginger, cinnamon, cloves, and nutmeg. Stir with a spatula or whisk until just combined. Do not overmix! You’ll see streaks of flour at first, but keep stirring until it’s mostly uniform. A few small lumps are fine. Overmixing develops gluten and makes the cake tough.
Step 4: Pour and Bake (35-40 minutes)
Pour the batter into the prepared pan. Smooth the top with your spatula. Bake for 35-40 minutes. The cake is done when a toothpick inserted into the center comes out with a few moist crumbs attached, but no wet batter. If it comes out clean, it might be slightly overbaked. I pull mine at 35 minutes and check.
Step 5: Cool Completely (1 hour)
Let the cake cool in the pan for 10 minutes, then transfer it to a wire rack to cool completely. This is the hardest part, I know. But if you glaze it warm, the glaze will melt off. Be patient. Use this time to clean up your bowls.
Step 6: Make the Glaze (5 minutes)
In a small bowl, beat the softened cream cheese until smooth. Add the powdered sugar and vanilla. Mix until thick and creamy. If it’s too thick to spread, add milk one teaspoon at a time. It should be thick enough to hold its shape but soft enough to spread easily.
Step 7: Glaze and Serve
Spread the glaze over the completely cooled cake. Use an offset spatula or a butter knife. Don’t worry about perfect edges; the rustic look is part of the charm. Slice into squares and serve. It’s best at room temperature.
Expert Tips & Tricks
Here’s everything I’ve learned from making this dozens of times. These tips will save you from my mistakes.
Room Temperature Ingredients Matter — Especially the eggs and cream cheese. If your eggs are cold, they can cause the batter to separate. If your cream cheese is cold, your glaze will be lumpy. Take them out of the fridge 30 minutes before you start.
Don’t Skip the Parchment — Gingerbread is sticky. Even with greasing, it can stick. Parchment paper guarantees easy removal. Just grease the parchment too, for good measure.
The Toothpick Test is Key — Ovens vary. My oven runs hot, so I check at 35 minutes. If your oven runs cool, it might take 40 or 45. Don’t rely solely on the timer. Look at the cake. The edges should pull away slightly from the pan.
Glaze Consistency — The glaze should be like thick yogurt. If it’s too thin, it’ll run off the sides. If it’s too thick, it’ll crack. Adjust with milk or powdered sugar as needed. I usually need about 1 tablespoon of milk for my batch.
Storage is Simple — Store in an airtight container at room temperature for up to 3 days. It actually gets moister after day one. Don’t refrigerate unless you have to; it dries out the cake slightly.
Common Mistake: Dry Cake — This usually happens from overbaking or using too much flour. Spoon and level your flour! Don’t scoop. And don’t overbake. Pull it when the toothpick has moist crumbs.
Pro Trick: Add a Sprinkle — Before the glaze sets, sprinkle with crushed ginger candies or a light dusting of powdered sugar. It looks beautiful and adds a little crunch.
Variations & Substitutions
Once you’ve nailed the basic version, here’s how you can mix it up. I’ve tried all of these.
Add-Ins — Fold in ½ cup of chopped pecans or walnuts before baking. It adds a nice crunch. Or add ½ cup of dried cranberries for a tart contrast. I love the cranberry version for Christmas.
Gluten-Free — Use a 1:1 gluten-free flour blend. The texture will be slightly different but still delicious. I’ve used Bob’s Red Mill 1-to-1 and it works great.
Dairy-Free — Use vegan cream cheese and dairy-free butter (if using butter instead of oil). The molasses and spices are naturally dairy-free. Just swap the cream cheese for a vegan block variety.
Spice It Up — Add a pinch of cardamom or allspice for a more complex flavor. I sometimes add a tiny bit of cardamom for a Scandinavian twist.
Mini Loaves — You can bake this in two mini loaf pans for about 25-30 minutes. Perfect for gifts! Wrap them up with a ribbon and a tag.
Serving & Storage
How to Serve: I usually serve this with a cup of black coffee or hot tea. The bitterness of the coffee cuts through the sweetness perfectly. It’s also amazing with a glass of cold milk. I don’t recommend serving it with whipped cream; the glaze is rich enough.
Storage: Store in an airtight container at room temperature for up to 3 days. If your kitchen is very hot, you might need to refrigerate it, but let it come to room temperature before serving. It will last up to 5 days in the fridge, but the texture changes slightly.
Freezing: You can freeze the cake (without glaze) for up to 3 months. Wrap it tightly in plastic wrap and then foil. Thaw overnight in the fridge. Glaze it after thawing. I do this for holiday prep.
Reheating: You don’t need to reheat it. It’s best at room temperature. If you want it warm, microwave a slice for 10-15 seconds. Don’t overdo it, or the glaze will melt.
Nutrition Information
I’m not a nutritionist, but here’s the breakdown if you’re tracking. This is a rich dessert, so moderation is key.
Per Serving (based on 16 squares):
Calories: 280
Protein: 3g
Carbs: 42g
Fiber: 1g
Sugar: 28g
Fat: 12g
Saturated Fat: 6g
Cholesterol: 30mg
Sodium: 180mg
It’s not a health food, but it’s better than store-bought cake. I know exactly what’s in it. When I make it, I enjoy a square or two and savor it. It’s a treat, not a staple.
Final Thoughts
So that’s my Winter Spiced Gingerbread Cake with Cream Cheese Glaze! I’ve probably talked your ear off at this point, but when you make a recipe this often, you have a lot to say about it. This cake has saved holiday parties, comforted me on bad days, and brought my family together. It’s my answer to “what dessert should I make?” when I want something that feels special but isn’t stressful.
Make it yours! Add nuts, add fruit, change the spices. The best recipes are the ones you adapt to your tastes. If you make this, drop a comment and let me know what you think! I love hearing how recipes turn out in your kitchen. And if something doesn’t work, tell me that too—I’m here to help troubleshoot.
Happy baking! I hope your kitchen smells half as good as mine does right now.
Frequently Asked Questions
Can I use light molasses instead of dark?
You can, but the flavor will be much milder and sweeter. Dark molasses has that deep, robust taste that defines gingerbread. If you only have light molasses, I’d suggest adding a teaspoon of unsweetened cocoa powder to deepen the color and flavor. But dark is best.
Why is my cake dense?
This usually happens from two things: overmixing the batter or using too much flour. If you overmix, you develop gluten, which makes the cake tough. Also, if you scoop your flour, you’re packing it into the cup, which means you’re using way more than the recipe calls for. Always spoon and level your flour.
Can I make this ahead for a party?
Absolutely. In fact, it’s better if you make it ahead. Bake the cake, let it cool completely, and wrap it tightly in plastic wrap. Store it at room temperature for up to 2 days. Glaze it the day of the party. It’ll be perfect.
Can I freeze the cake with the glaze?
I don’t recommend it. The glaze can become soggy or crack when thawed. Freeze the cake without glaze, then glaze it after thawing. It’s worth the extra 5 minutes.
What if I don’t have a 9×9 pan?
You can use an 8×8 pan, but the cake will be taller and bake faster. Check it at 30 minutes. Or you can use a 9×13 pan, but the cake will be thinner and bake even faster. Adjust your baking time accordingly. The toothpick test is your best friend.
Can I add chocolate chips?
Yes! Chocolate and gingerbread is a classic combination. Fold in ½ cup of semi-sweet chocolate chips before baking. They’ll melt into pockets of chocolate goodness. It’s delicious.
How do I store leftovers?
Store in an airtight container at room temperature for up to 3 days. If your kitchen is humid, refrigerate it, but let it come to room temperature before serving. It will last up to 5 days in the fridge.
Pin This Recipe!
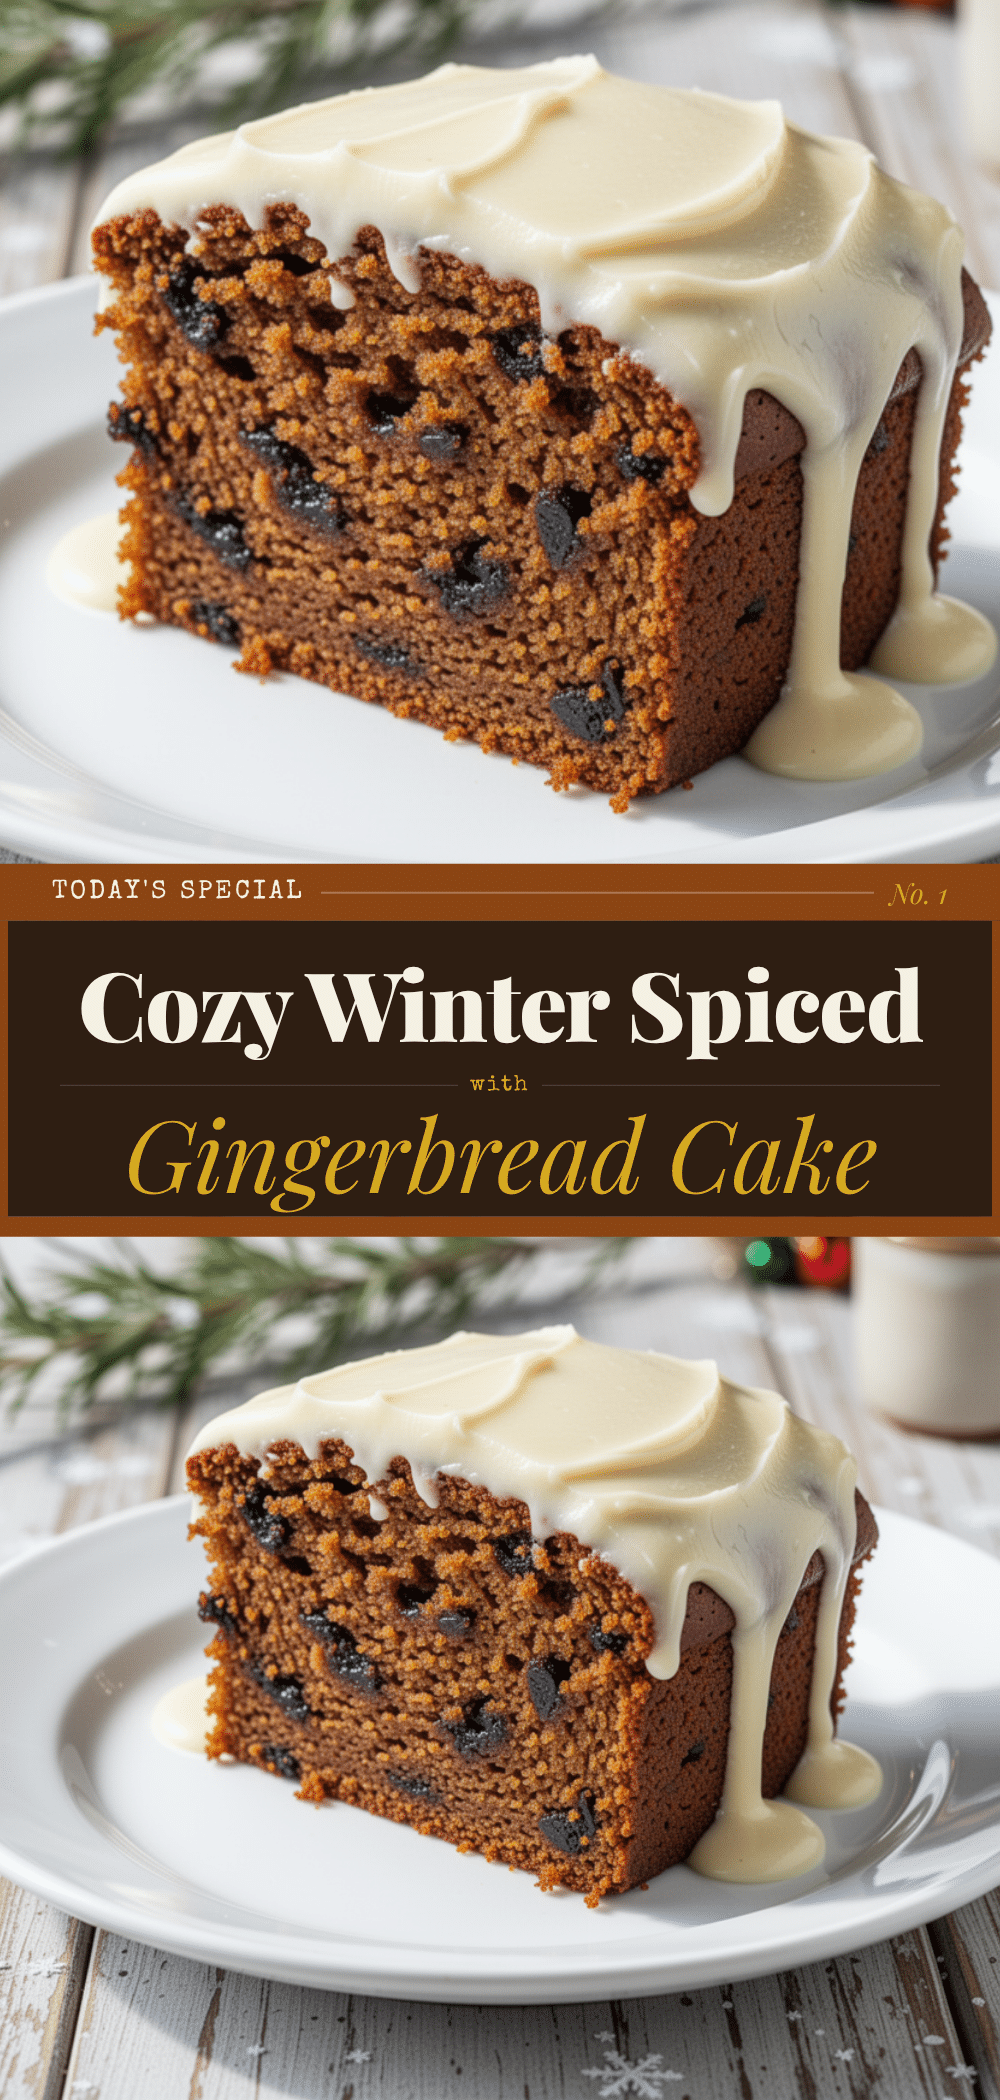
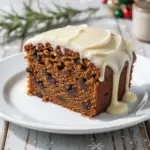
Winter Spiced Gingerbread Cake with Cream Cheese Glaze
- Total Time: 1 hour 40 minutes
- Yield: 16 servings 1x
Description
A moist, spiced gingerbread cake made with oil for lasting tenderness, topped with a thick, tangy cream cheese glaze. This one-bowl recipe is forgiving, make-ahead friendly, and perfect for holiday entertaining.
Ingredients
- 1/2 cup dark molasses
- 1 cup light brown sugar, packed
- 1/2 cup neutral oil (light olive oil or grapeseed oil)
- 2 large eggs, room temperature
- 2 cups all-purpose flour, spooned and leveled
- 1 teaspoon baking soda
- 1/2 teaspoon salt
- 2 teaspoons ground ginger
- 1 teaspoon ground cinnamon
- 1/2 teaspoon ground cloves
- 1/4 teaspoon ground nutmeg
- 4 oz block cream cheese, full-fat and softened
- 1 cup powdered sugar, sifted
- 1/2 teaspoon vanilla extract
- 1–2 tablespoons milk or cream (optional, for glaze consistency)
Instructions
- Preheat oven to 350°F (175°C). Grease a 9×9 inch square pan and line the bottom with parchment paper.
- In a large bowl, whisk together molasses, brown sugar, oil, and eggs vigorously for about a minute until glossy and emulsified.
- Add flour, baking soda, salt, ginger, cinnamon, cloves, and nutmeg. Stir with a spatula or whisk until just combined. Do not overmix.
- Pour batter into the prepared pan and smooth the top. Bake for 35-40 minutes, or until a toothpick inserted into the center comes out with moist crumbs.
- Let the cake cool in the pan for 10 minutes, then transfer to a wire rack to cool completely.
- In a small bowl, beat softened cream cheese until smooth. Add powdered sugar and vanilla, mixing until thick and creamy. Add milk one teaspoon at a time if needed to reach spreading consistency.
- Spread the glaze over the completely cooled cake. Slice into squares and serve at room temperature.
Notes
Room temperature ingredients are crucial for proper emulsification and glaze texture. Do not scoop flour; spoon and level it to avoid a dry cake. The cake improves in flavor after sitting overnight. Store in an airtight container at room temperature for up to 3 days. For gluten-free, use a 1:1 gluten-free flour blend. For dairy-free, use vegan cream cheese.
- Prep Time: 20 minutes
- Cook Time: 40 minutes
- Category: Dessert
- Cuisine: American
Nutrition
- Serving Size: 1 square
- Calories: 280
- Sugar: 28
- Sodium: 180
- Fat: 12
- Saturated Fat: 6
- Carbohydrates: 42
- Fiber: 1
- Protein: 3
Keywords: gingerbread cake, holiday dessert, cream cheese glaze, winter baking, easy cake, one bowl recipe, make ahead dessert