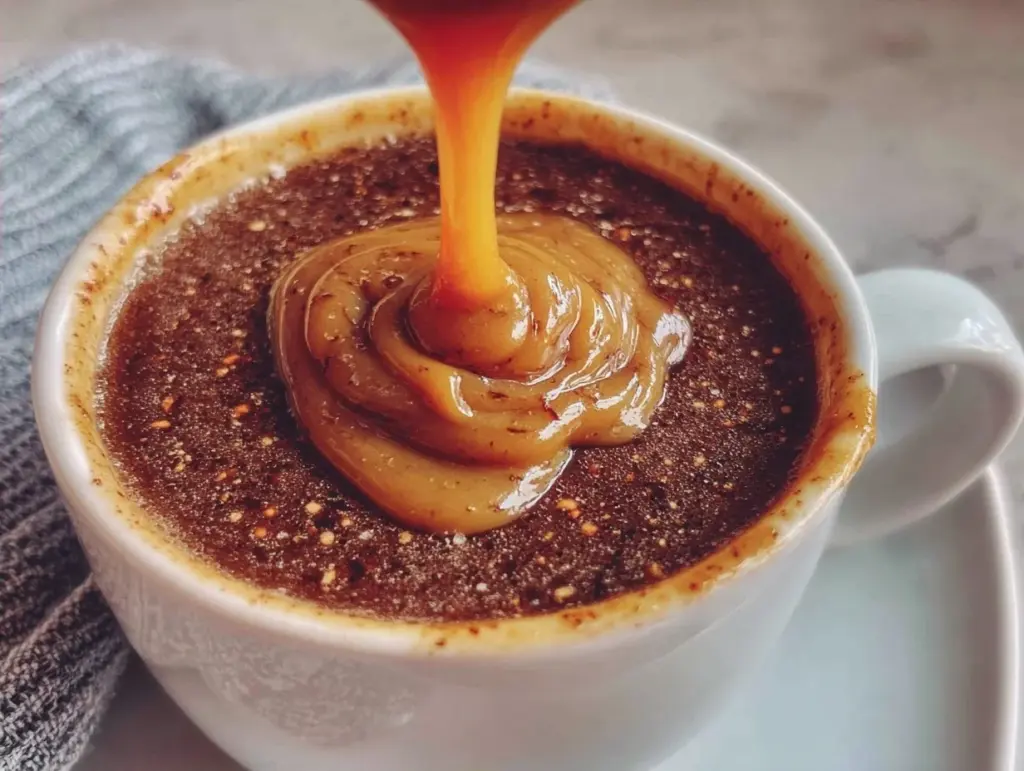
Last October, I was standing in line at a coffee shop that costs more than my hourly wage for a drink that tastes like sugar water. The barista asked if I wanted the seasonal pumpkin swirl. I said yes, because it’s October, and we all know what that means. When I got it, I took one sip and realized I was drinking $8 of syrup that probably had less pumpkin than my houseplant.
I went home and decided to fix that. I wasn’t looking for a quick stir-in. I wanted something I could make on a Sunday, portion out, and have ready for every single morning of the month. That’s when I created this homemade pumpkin coffee syrup. It’s not just a recipe; it’s a weekly ritual. I’ve made this batch four times now, each time tweaking the spice blend until it smelled like my grandmother’s kitchen on a crisp November morning.
Real talk: making syrup from scratch sounds like work. It’s not. It’s 15 minutes of active effort and 20 minutes of simmering. The magic happens in the storage. I make one big batch, bottle it up, and I’m set for four weeks. No more running out mid-week. No more overpriced store-bought versions with weird aftertastes. Just pure, spiced pumpkin flavor that actually tastes like autumn.
If you’ve been searching for a way to bring that cozy café vibe into your home routine without the daily expense, this homemade pumpkin coffee syrup is your answer. It’s efficient, it’s delicious, and it’s the backbone of my fall mornings. Let’s get into how to make it right.
Why You’ll Love This Syrup
There’s a reason this sits on my counter every October. It solves the biggest problem with seasonal drinks: consistency and cost. Here’s why this specific method works better than anything you’ll buy at the grocery store.
- Four Weeks of Flavor — One batch lasts about four weeks in the fridge. I make it once, and I don’t think about pumpkin syrup again until next fall. That’s efficiency.
- Actual Pumpkin Flavor — Most store syrups taste like artificial pumpkin pie spice. This uses real pumpkin puree, so you get that earthy, sweet base that grounds the spices.
- Customizable Sweetness — I make mine with cane sugar, but you can swap it for maple syrup or a keto-friendly alternative. You control the sugar level, not a corporation.
- Coffee Shop Quality — The texture is silky and smooth, not gritty or separated. It mixes into hot coffee instantly, just like the barista version, but cleaner.
- Meal Prep Friendly — This is designed for batching. I make it in a large pot, let it cool, and pour it into small bottles. Grab one for the week, or keep it all in one pitcher. Your call.
This is my go-to when I want to feel fancy without spending money or time every single morning. It’s the kind of prep that pays off every time you take that first sip.
Key Ingredients for Homemade Pumpkin Coffee Syrup
You don’t need a fancy pantry for this. But you do need quality ingredients. Since this is a concentrated syrup, you taste everything. Here’s what I use and why.
Pumpkin Puree (1 cup / 240g) — Not pumpkin pie filling. I mean the plain, canned 100% pumpkin. Pie filling has sugar and spices already, which throws off the balance. I use Libby’s because it’s consistent, but any plain puree works. Make sure it’s cold from the fridge when you start.
Water (2 cups / 480ml) — This is your base. Use filtered water if you have it. The quality of water matters more than you think in syrups because it’s the main liquid component.
Sugar (1 cup / 200g) — I use white cane sugar for a clean sweetness that lets the pumpkin shine. Brown sugar works too, but it makes the syrup darker and adds a molasses note. If you want a lighter flavor, stick to white. For a healthier option, try coconut sugar or maple syrup, though the texture will be slightly different.
Heavy Cream (1/2 cup / 120ml) — This is the secret. Cream adds richness and helps emulsify the pumpkin into the syrup so it doesn’t separate. It makes the mouthfeel velvety. You can skip this if you’re dairy-free, but add a splash of coconut cream instead to keep that texture.
Pumpkin Pie Spice (2 tsp / 10g) — Store-bought is fine here. I use McCormick. It’s a blend of cinnamon, ginger, nutmeg, and cloves. If you want to make your own, mix 1 tsp cinnamon, 1/2 tsp ginger, 1/4 tsp nutmeg, and 1/8 tsp cloves. Freshly ground spices are better, but for syrup, pre-ground is convenient and effective.
Salt (1/4 tsp / 1.5g) — This is non-negotiable. Salt enhances the sweetness and balances the spices. Without it, the syrup tastes flat. I use fine sea salt.
Vanilla Extract (1 tsp / 5ml) — Add this at the end. Real vanilla, not imitation. It rounds out the edges of the spice blend. I use Nielsen-Massey because it’s potent and pure.
Tools Needed
You don’t need fancy equipment. Here’s what I use for my weekly batch.
Medium Saucepan — I use a 3-quart saucepan. It needs to be deep enough to handle the boiling without splattering, but not so wide that the liquid evaporates too fast. My stainless steel one has been with me for five years.
Whisk — A silicone whisk is best. It handles the thickening puree better than a spoon and doesn’t scratch the pan. You need to whisk constantly at the start to prevent clumps.
Measuring Cups and Spoons — Be precise. Syrup is chemistry. If you eyeball the sugar, it might be too sweet or too thin. I use a set of nested measuring cups and a set of spoons.
Glass Bottles or Jars — I use small mason jars with pour spouts. They’re easy to clean and look nice on the counter. You can also use old syrup bottles from the store. Just make sure they’re sterilized.
How to Make Homemade Pumpkin Coffee Syrup
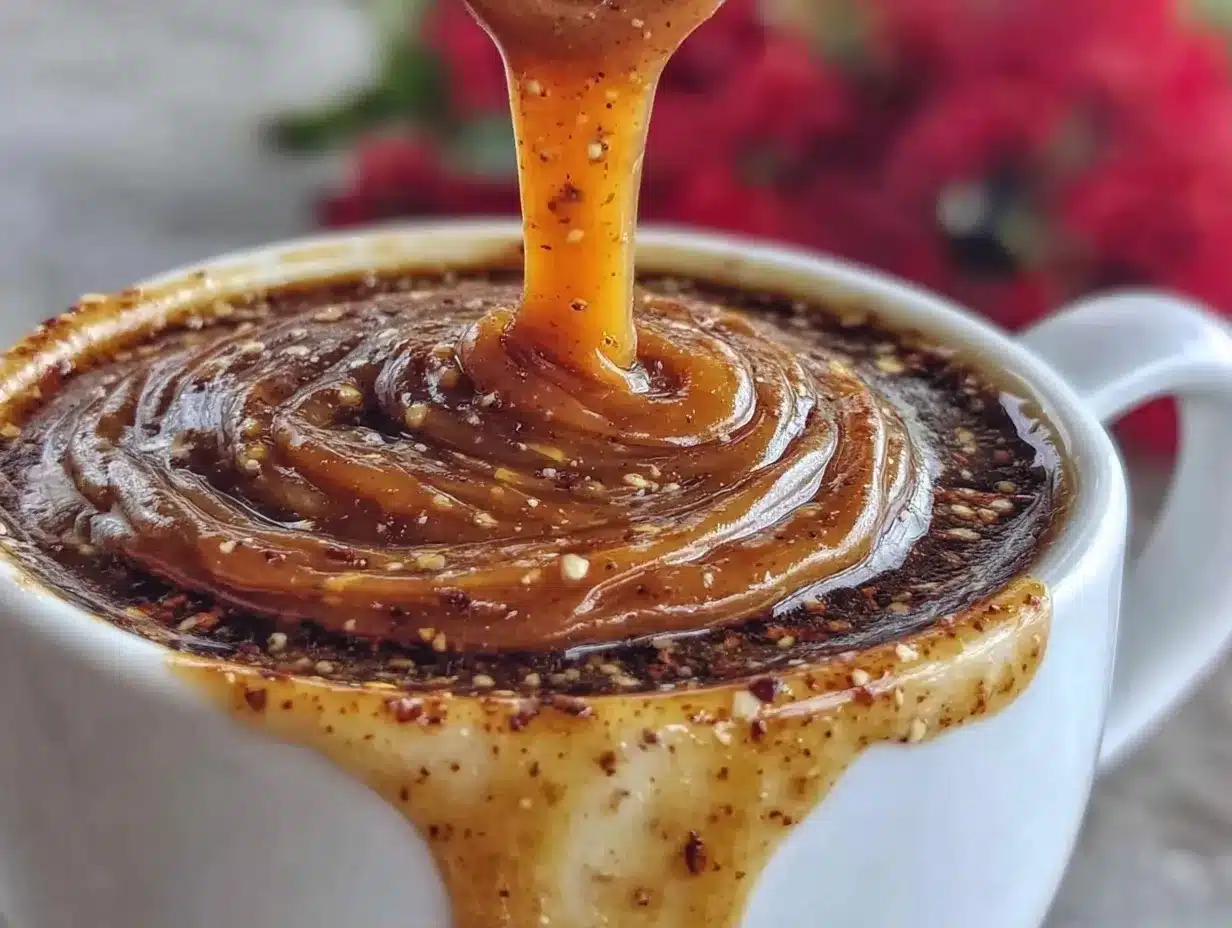
Here is the exact process I follow. It takes about 45 minutes from start to finish, but most of that is passive simmering.
Step 1: Combine Base Ingredients (5 minutes)
Grab your medium saucepan. Add the water, sugar, pumpkin puree, heavy cream, pumpkin pie spice, and salt. Whisk everything together while the pot is still cold. This is crucial. If you add pumpkin to hot liquid, it clumps. By whisking it in cold, you ensure a smooth, lump-free mixture. The mixture will look pale and slightly chunky at first. That’s normal.
Step 2: Simmer the Syrup (20 minutes)
Place the saucepan over medium heat. Bring the mixture to a gentle simmer. You’ll see small bubbles forming around the edges. Do not boil it hard, or the sugar might crystallize and the cream might scorch. Once it simmers, reduce the heat to low. Let it cook for 15-20 minutes. Stir every 3-4 minutes. You’ll notice the mixture darkening slightly and thickening. It’s ready when it coats the back of a spoon. If you run your finger across the spoon, the line should hold. Don’t over-thicken it; it will thicken more as it cools.
Step 3: Remove from Heat and Add Vanilla (2 minutes)
Take the pot off the burner. Stir in the vanilla extract. The heat will release the vanilla aroma immediately. If you want a smoother texture, you can strain the syrup through a fine-mesh sieve now to catch any spice bits. I usually skip this because I like the tiny specks of spice, but if you prefer a silky smooth look, strain it.
Step 4: Cool and Bottle (30 minutes)
Let the syrup cool to room temperature. This takes about 30 minutes. Do not bottle it hot, or you’ll create condensation in the jar, which leads to mold. Once it’s cool, pour it into your glass bottles. Seal them tightly.
Total Time Breakdown: 5 minutes prep, 20 minutes cook, 30 minutes cool. Total active time: 25 minutes.
Expert Tips for Perfect Syrup
Here’s everything I learned from making this too many times. These tips save you from common mistakes.
Don’t Rush the Simmer
This is the #1 mistake. If you boil it too fast, the sugar doesn’t dissolve properly, and the flavors don’t meld. Low and slow is the rule. I learned this when my first batch tasted grainy. The second batch, I watched the clock and kept the heat low. Game changer.
Use Cold Ingredients
Starting with cold pumpkin and cream helps prevent clumping. I know it’s annoying to measure cold ingredients, but it saves you from having to whisk out lumps later. Just take the pumpkin out of the fridge and go.
Storage is Key
Because this has no preservatives, it needs to be kept cold. I store mine in the fridge. It lasts four weeks. If you leave it on the counter, it will spoil in three days. Don’t risk it.
Stir Before Every Use
Natural separation happens. The spices and pumpkin solids may settle at the bottom. Give the bottle a good shake before pouring. It’s part of the charm.
Scale Up or Down
This recipe doubles easily. If you have a big pot, make two batches. I sometimes freeze half of it in ice cube trays for later. Just thaw a cube when you need it. It works perfectly.
Recipe Variations
Once you’ve nailed the basic version, here’s how to mix it up. I like to keep things interesting.
Maple Pumpkin Syrup
Swap the white sugar for pure maple syrup. Use 1 cup of maple syrup instead of sugar. It adds a deeper, woodsy flavor. I love this version in winter. It pairs beautifully with banana nut breakfast muffins for a complete morning meal.
Dairy-Free Version
Replace the heavy cream with full-fat coconut milk or oat cream. The texture will be slightly less rich, but the flavor is still great. I use oat cream because it doesn’t taste coconutty.
Keto Friendly
Use erythritol or monk fruit sweetener instead of sugar. Start with 3/4 cup and adjust to taste. The texture might be thinner, so simmer it a bit longer to reduce.
Spicy Pumpkin Syrup
Add a pinch of cayenne pepper or a dash of black pepper to the spice blend. It adds a subtle heat that wakes up your palate. Great if you like a kick.
Latte Ready
If you want to make this specifically for lattes, add an extra tablespoon of cream. It helps create a foamier texture when you steam it or froth it at home.
Serving & Storage
Serving:
I use about 1-2 tablespoons per cup of coffee. Stir it in while the coffee is hot. It melts instantly. I also like to drizzle a little on top of whipped cream if I’m feeling indulgent. It’s great in iced coffee too, but stir well because it thickens when cold.
Side Dishes:
This pairs well with brown butter toffee cookies for a sweet treat, or with savory breakfasts like avocado corn salad if you’re doing a brunch spread.
Storage:
Room temp: No. Keep it in the fridge.
Refrigerator: Lasts 4 weeks. Make sure the bottle is sealed tight.
Freezer: Yes, it freezes well for up to 3 months. I freeze it in small jars or ice cube trays. Thaw in the fridge overnight before using.
Meal prep tip: Label your bottles with the date. I hate guessing when I made something. Write the date on a piece of tape and stick it on the jar.
Nutrition Information
I’m not a nutritionist, but here’s the breakdown per serving (1 tablespoon).
| Nutrient | Amount |
|---|---|
| Calories | 60 |
| Protein | 0g |
| Carbs | 14g |
| Fiber | 0g |
| Fat | 1g |
| Sodium | 10mg |
My Take:
This is a sweetener. It has sugar and cream. It’s not a health food. But it’s better than the bottled stuff, which often has high fructose corn syrup and artificial flavors. Use it in moderation. One tablespoon is plenty for flavor.
Final Thoughts
Making homemade pumpkin coffee syrup is one of those small wins that makes your week better. You save money, you eat better ingredients, and you have that cozy smell in your kitchen every morning. It’s a simple ritual that grounds me.
If you make this, drop a comment! I love hearing how it turns out in your kitchen. Do you like it in coffee or hot chocolate? Let me know.
Happy cooking!
FAQs
Q: Can I make this ahead of time?
A: Yes, this is designed for meal prep. Make it on Sunday, and it will last all month. I make it once and forget about it until it’s gone.
Q: Why did my syrup separate?
A: Separation is normal for natural syrups. Just shake it before using. If it separates too much, you might have heated it too fast. Next time, keep the simmer gentle.
Q: Can I use pumpkin pie filling instead of puree?
A: I don’t recommend it. Pie filling has sugar and spices already, which will make your syrup too sweet and muddy. Stick to plain puree for control.
Q: How do I store it in the fridge?
A: Use glass bottles with tight lids. Mason jars with pour spouts are perfect. Keep it in the main part of the fridge, not the door, where the temperature fluctuates.
Q: Can I double this recipe?
A: Absolutely. Just use a larger pot. Make sure you have room to stir. Double the ingredients and cook for the same amount of time, but watch it closely as it might thicken faster.
Q: Does this work in iced coffee?
A: Yes, but it thickens when cold. Warm the syrup slightly before adding it to iced coffee, or stir it very well. It dissolves easier in hot drinks.
Pin This Recipe!
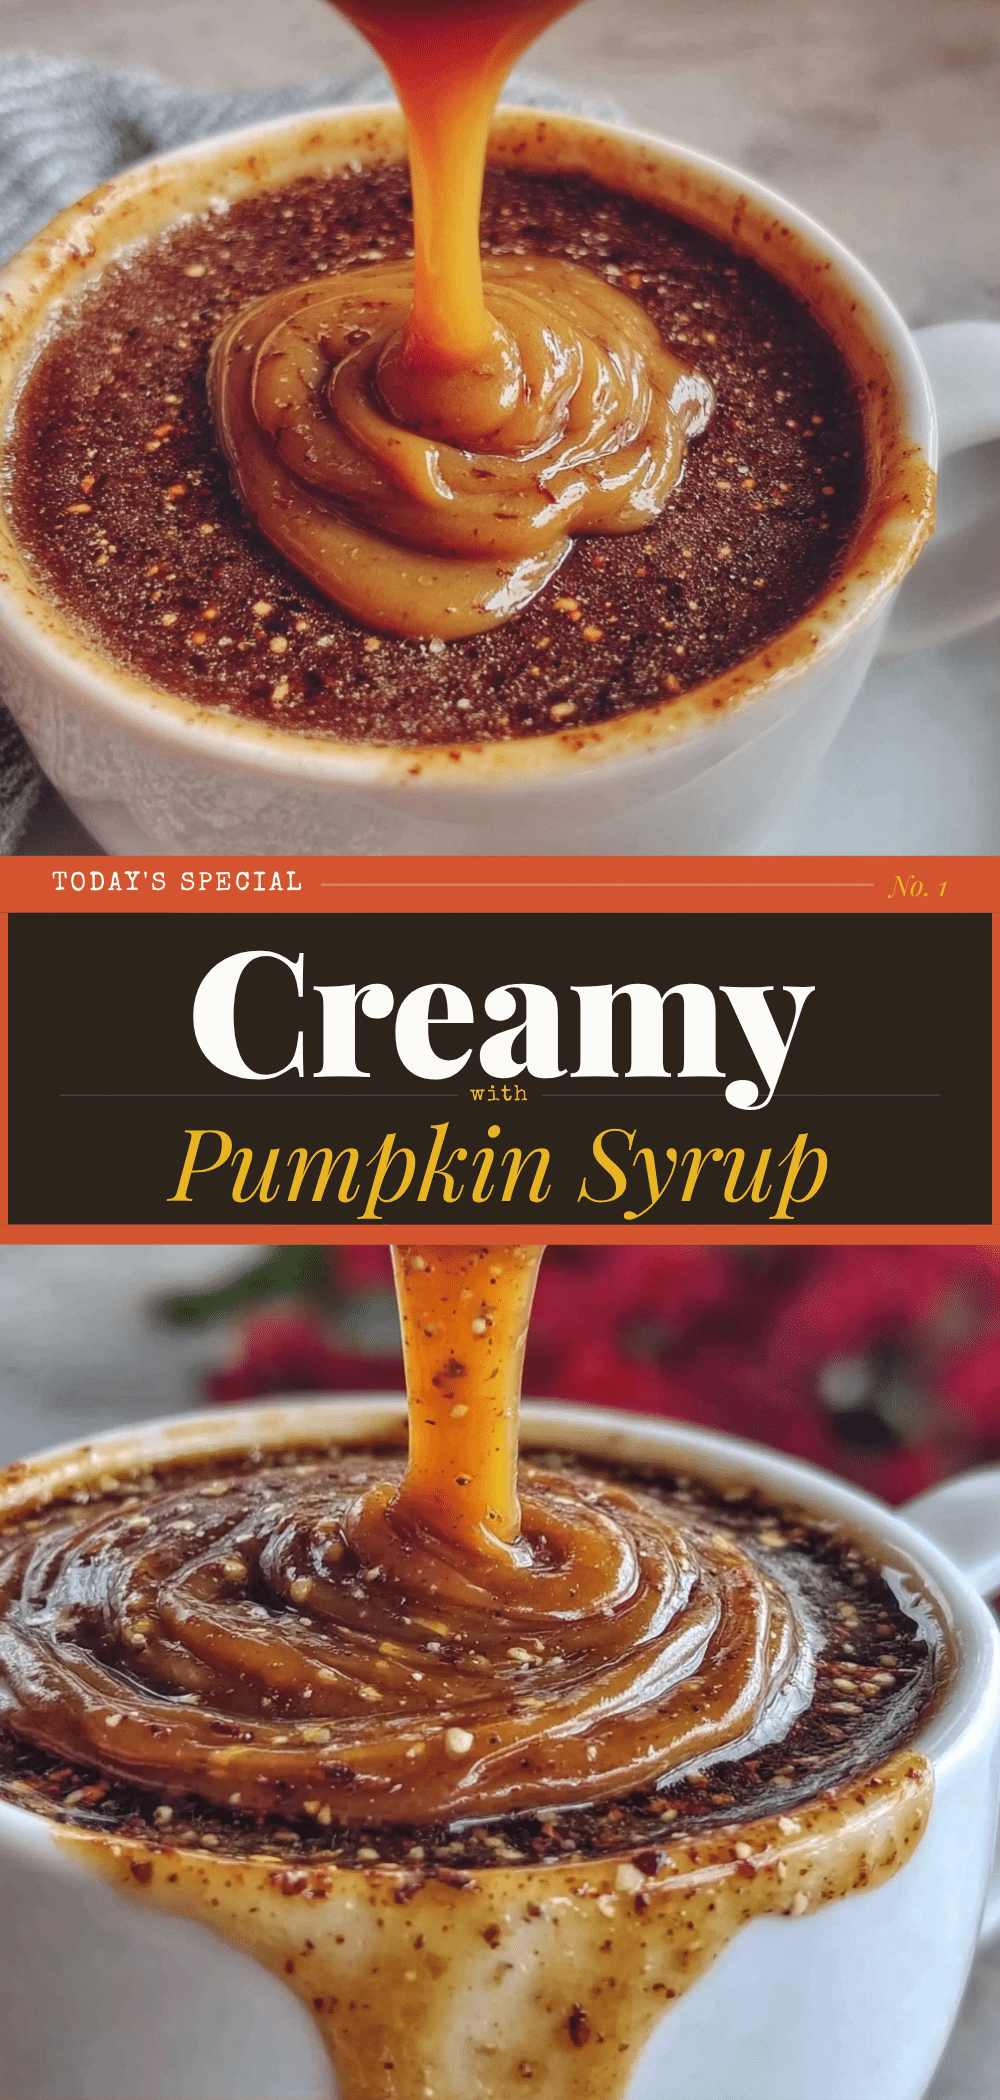
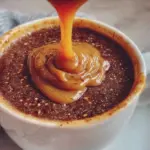
Homemade Pumpkin Coffee Syrup
- Total Time: 45 minutes
- Yield: Approximately 4 cups (makes enough for 4 weeks) 1x
Description
A homemade pumpkin coffee syrup that lasts for four weeks, offering coffee shop quality flavor with real pumpkin puree and customizable sweetness.
Ingredients
- 1 cup (240g) plain pumpkin puree
- 2 cups (480ml) water
- 1 cup (200g) white cane sugar
- 1/2 cup (120ml) heavy cream
- 2 tsp (10g) pumpkin pie spice
- 1/4 tsp (1.5g) fine sea salt
- 1 tsp (5ml) vanilla extract
Instructions
- In a medium saucepan, combine water, sugar, pumpkin puree, heavy cream, pumpkin pie spice, and salt while the pot is still cold. Whisk thoroughly to prevent clumping.
- Place the saucepan over medium heat and bring the mixture to a gentle simmer.
- Reduce heat to low and simmer for 15-20 minutes, stirring every 3-4 minutes, until the syrup thickens and coats the back of a spoon.
- Remove the pot from heat and stir in the vanilla extract.
- Optionally, strain the syrup through a fine-mesh sieve for a smoother texture.
- Let the syrup cool to room temperature (about 30 minutes).
- Pour the cooled syrup into sterilized glass bottles or jars and seal tightly.
Notes
Start with cold ingredients to prevent clumping. Do not boil vigorously to avoid crystallization or scorching. Store in the refrigerator for up to 4 weeks. Shake well before use as natural separation may occur. Can be frozen for up to 3 months.
- Prep Time: 5 minutes
- Cook Time: 20 minutes
- Category: Condiments
- Cuisine: American
Nutrition
- Serving Size: 1 tablespoon
- Calories: 60
- Sugar: 14
- Sodium: 10
- Fat: 1
- Saturated Fat: 0.5
- Carbohydrates: 14
Keywords: pumpkin syrup, coffee syrup, homemade syrup, fall recipes, meal prep, pumpkin spice, dairy-free options, keto friendly