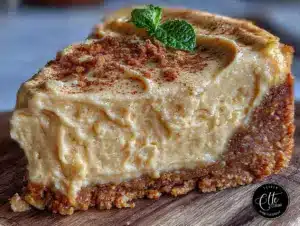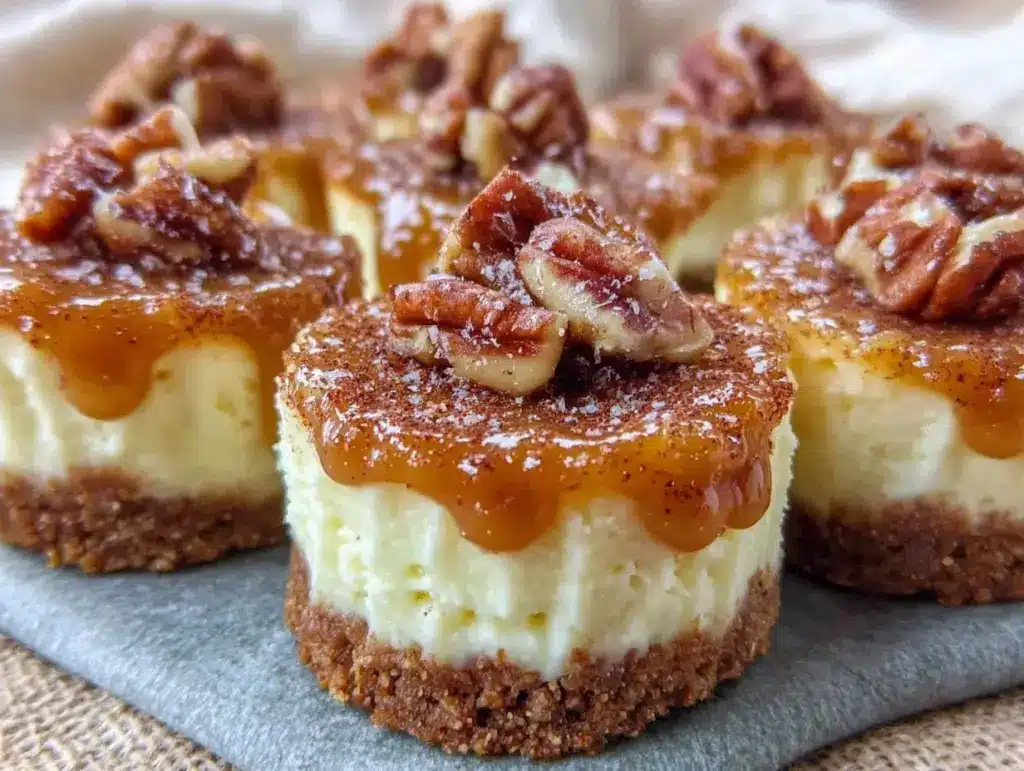
I still remember the crisp air of that October afternoon. I was standing in my kitchen, flour dusting my nose, trying to decide what to bring to my best friend’s baby shower. She was expecting in late November, right in the heart of leaf-peeping season, and she had this specific vision: something cozy, something that tasted like autumn, but nothing too heavy. She didn’t want giant, intimidating cakes. She wanted little bites of comfort. I stared at my pantry for twenty minutes, feeling the pressure of being the “foodie friend” who always has to deliver something spectacular. That day, I decided to skip the heavy pumpkin spice lattes and go for something richer, nuttier, and deeply seasonal. I whipped up a batch of what I now call my go-to Fall Baby Shower Maple Pecan Mini Cheesecake Bites. They were gone in ten minutes. People were asking for the recipe before the gift-opening even started.
There is something magical about combining the earthy warmth of maple syrup with the crunch of toasted pecans. It’s a flavor profile that screams “fall,” yet it feels sophisticated enough for a special occasion. I’ve made this recipe for three baby showers and two housewarming parties now, and it has become my absolute favorite way to celebrate the season. The beauty of these mini cheesecakes isn’t just in the taste—it’s in the convenience. You can make the crust and the filling a day ahead, pop them in the fridge, and just add the topping right before you leave. No last-minute panic. No melting ice cream. Just smooth, creamy, maple-infused perfection.
When you’re planning a baby shower, the logistics can be stressful. You want the food to be elegant but easy to eat with one hand. You want the flavors to be approachable for grandparents and kids alike. These mini cheesecake bites hit every single note. They are portable, they are visually stunning with their golden-brown tops, and they offer a subtle sweetness that isn’t cloying. I’ve tested this recipe at least twelve times, tweaking the ratio of cream cheese to maple syrup until it was absolutely flawless. I want you to have the same confidence in your kitchen that I have in mine. Let’s make these together, shall we?
Why You’ll Love This Recipe
There are plenty of desserts out there, but few capture the essence of autumn quite like these bites. Here is why this Fall Baby Shower Maple Pecan Mini Cheesecake Bites recipe has earned a permanent spot in my rotation:
- Make-Ahead Magic — These cheesecakes actually taste better the next day. I usually prep the crusts and fillings on Thursday night for a Sunday shower. The flavors meld together in the fridge, becoming richer and more cohesive. It takes the stress off your big day.
- One-Handed Elegance — Unlike a slice of cake that requires a plate and a fork, these mini bites are perfect for mingling. Guests can hold them while chatting, and there’s no risk of crumbling messes. I’ve seen them disappear from trays faster than I can refill them.
- Seasonal Flavor Profile — Maple and pecan are the ultimate fall duo. It’s not just pumpkin pie all over again. The natural caramel notes of maple syrup paired with the buttery crunch of pecans create a complex flavor that feels upscale and thoughtful.
- Gluten-Free Friendly Base — By using almond flour for the crust, you naturally skip the wheat. This makes the recipe accessible to more guests without sacrificing texture. The crust is still sturdy and crumbly, just like a traditional graham cracker crust.
- Customizable Toppings — You can keep it simple with just maple glaze, or go all out with candied pecans. I love that you can tailor the sweetness level to your crowd. Less sugar for the adults, extra crunch for the kids.
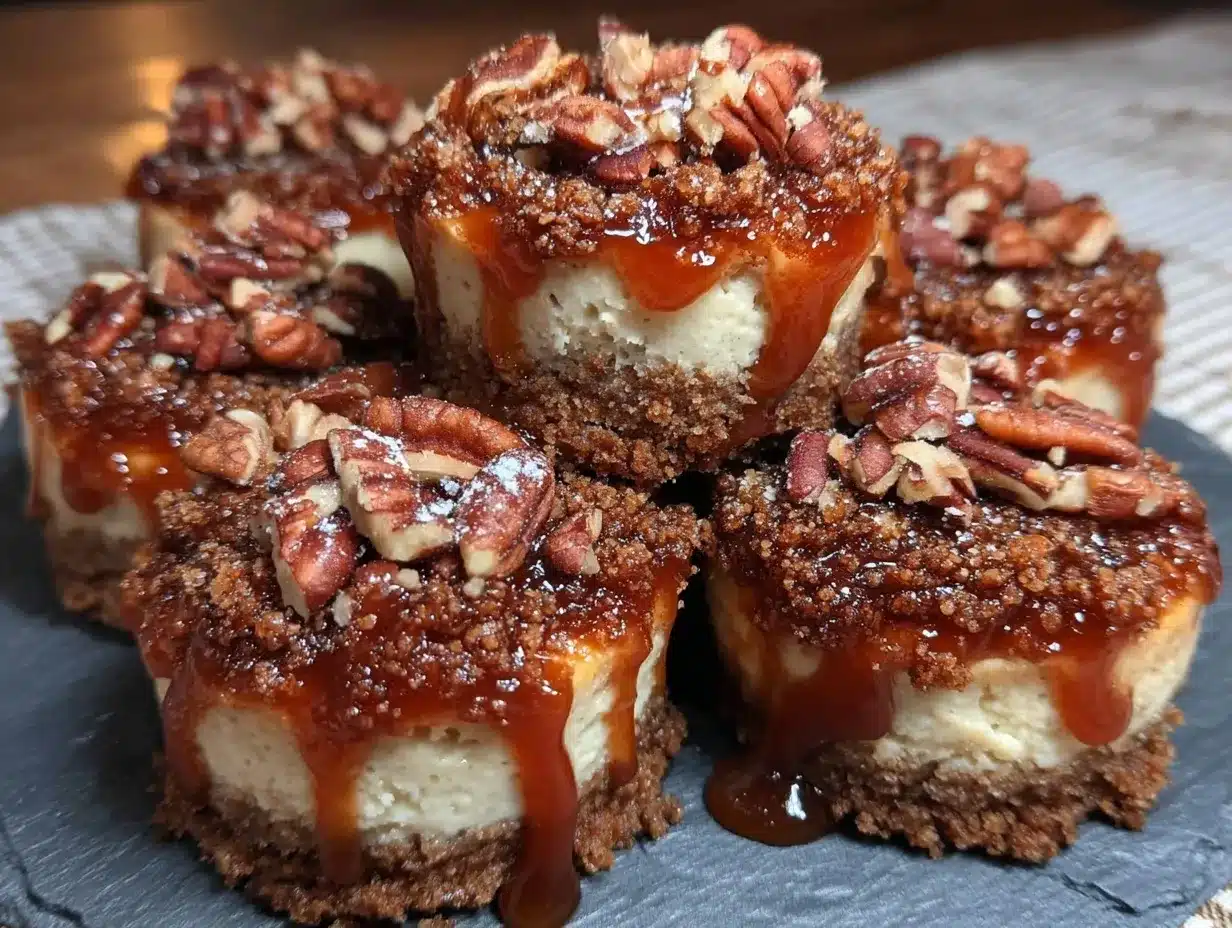
- Visual Appeal — They look like little jewels in a jewelry box. The contrast of the dark almond crust, the pale cream cheese filling, and the golden maple drizzle is stunning on a serving platter. They photograph beautifully for your social media posts too.
This is my go-to when I need a dessert that feels homemade but looks professionally made. It’s reliable, it’s delicious, and it fits perfectly into the autumn vibe.
Key Ingredients
Let’s talk about what goes into these bites. I shop for these ingredients at the local farmers market whenever possible, because fresh, high-quality components make a huge difference. Here is what you’ll need:
For the Almond Crust
Almond Flour (1 cup / 113g) — This is the foundation. Use blanched almond flour for a lighter, smoother texture. If you buy whole almonds and grind them yourself, make sure you don’t over-process them into almond butter. You want fine, sandy crumbs. This adds a nutty depth that graham crackers just can’t match.
Unsalted Butter (3 tbsp / 42g) — Melted. This binds the almond flour together. I use high-quality European butter because the higher fat content gives a richer flavor. If you’re dairy-free, you can swap this for refined coconut oil, but the texture will be slightly different.
Maple Syrup (1 tbsp / 15g) — A little bit in the crust adds a hint of caramel flavor. Make sure you use 100% pure maple syrup, not “maple-flavored syrup” which is just corn syrup. The real stuff makes all the difference.
Salt (1/4 tsp / 1.5g) — Just a pinch to balance the sweetness. It wakes up the almond flavor.
For the Maple Cream Cheese Filling
Cream Cheese (16 oz / 450g) — This is the main event. Let it sit on the counter for 30 minutes before you start. Cold cream cheese is the enemy of smooth cheesecake; it leads to lumps. I use full-fat block cream cheese, never the tub stuff. The tub stuff has higher water content and can make the filling runny.
Maple Syrup (1/3 cup / 80g) — The star of the show. Use a medium-bodied maple syrup. Grade A Dark or Grade B syrup has a stronger maple flavor, which stands up better to the dairy. If you use Grade A Light, you might want to add a teaspoon of vanilla extract to boost the flavor.
Heavy Cream (1/2 cup / 120ml) — This gives the filling that light, airy texture. It’s what separates a dense brick from a fluffy cloud. Make sure it’s cold when you whip it.
Vanilla Extract (1 tsp / 5ml) — Pure vanilla. It rounds out the maple flavor and adds warmth.
Egg Yolks (2 large / ~36g) — We use only yolks for a richer, more custard-like texture. The whites can make it too airy or rubbery. Room temperature yolks incorporate more easily.
For the Pecan Topping
Pecan Halves (1 cup / 100g) — Toast them! This is non-negotiable. Raw pecans are bland. Toasting releases their natural oils and brings out that buttery, smoky flavor.
Butter (1 tbsp / 14g) — For sautéing the pecans.
Maple Syrup (1 tbsp / 15g) — To glaze the pecans.
Cinnamon (1/4 tsp / 0.5g) — A warm spice that bridges the gap between the crust, filling, and topping.
Tools Needed
You don’t need fancy equipment. Here’s what I use to keep things simple:
Mini Muffin Pan — I use a standard 24-cup mini muffin tin. It’s the perfect size for one-bite portions. If you don’t have one, a regular muffin pan works, but you’ll need to adjust the baking time and make larger cheesecakes.
Paper Liners — Cupcake liners are essential. They prevent sticking and make cleanup a breeze. I like the gold or bronze liners for a fall aesthetic.
Stand Mixer or Hand Mixer — You need something to whip the cream cheese and cream until smooth. A whisk will work, but it takes arm strength and time. A mixer ensures no lumps.
Small Skillet — Just a small non-stick pan for toasting the pecans. You don’t need anything fancy.
Piping Bag or Ziploc Bag — For transferring the filling into the liners. It’s much cleaner than using a spoon.
How to Make It
Ready to bake? Let’s walk through the process. It’s straightforward, but attention to detail is key.
Step 1: Toast the Pecans (5 minutes)
Preheat your oven to 350°F (175°C). Spread the pecan halves on a baking sheet. Toast them for 5-7 minutes until they smell fragrant and turn slightly darker. Watch them closely—nuts burn quickly. Let them cool completely. Once cooled, chop them roughly. You want chunks, not dust. Set aside.
Step 2: Make the Almond Crust (5 minutes)
In a small bowl, combine the almond flour, melted butter, maple syrup, and salt. Mix until it looks like wet sand. It should hold together when you pinch it. If it’s too dry, add a teaspoon more butter. If it’s too wet, add a sprinkle more almond flour.
Step 3: Press the Crusts (5 minutes)
Line your mini muffin pan with paper liners. Take about 1 teaspoon of the crust mixture and press it into the bottom of each liner. Use the bottom of a small measuring cup or your fingers to flatten it. You want an even layer. Do this for all 24 cups. Chill the pan in the fridge while you make the filling. This helps the crust set.
Step 4: Whip the Cream Cheese (3 minutes)
In a large bowl, beat the room-temperature cream cheese on medium-high speed until it is completely smooth and creamy. Scrape down the sides of the bowl. This step takes patience. If you see lumps, keep beating. Lumps in the final product are hard to hide. Add the maple syrup and vanilla extract. Mix until combined.
Step 5: Whip the Heavy Cream (2 minutes)
In a separate cold bowl, whip the heavy cream until you form stiff peaks. This means when you lift the whisk, the cream stands up straight. Do not over-whip it into butter, just stiff peaks.
Step 6: Fold It All Together (2 minutes)
Gently fold the whipped cream into the cream cheese mixture. Use a spatula and cut down the middle, scrape the bottom, and fold over. Rotate the bowl. Stop as soon as the white streaks disappear. You want to keep the air in the cream. Overmixing will deflate the filling and make it dense.
Step 7: Fill the Liners (5 minutes)
Transfer the filling into a piping bag or a Ziploc bag with the corner cut off. Pipe the filling into each crust-lined cup. Fill them almost to the top. Smooth the tops with a spatula if they look jagged. This is a great time to take a photo—they’re starting to look delicious!
Step 8: Chill (At least 2 hours)
Place the pan in the refrigerator. You need at least 2 hours for them to set, but overnight is best. This allows the flavors to marry and the texture to firm up. If you rush this step, they might be too soft to handle.
Step 9: Prepare the Topping (5 minutes)
Just before serving, heat the butter in a small skillet over medium heat. Add the chopped toasted pecans, cinnamon, and maple syrup. Stir constantly for 1-2 minutes until the pecans are coated and the syrup bubbles. Be careful—it’s hot sugar!
Step 10: Assemble and Serve
Drizzle a tiny bit of the warm maple pecan mixture over each cheesecake bite. You can also sprinkle a few extra raw pecans on top for garnish. Serve immediately or keep refrigerated until the party starts.
Total time: About 30 minutes of active prep, plus chilling time. It’s a low-effort, high-reward recipe.
Expert Tips
Here’s everything I learned from making this too many times. These tips will save you from common pitfalls.
The Cream Cheese Temperature is Critical
I cannot stress this enough. If your cream cheese is cold, you will have lumps. If you try to fix lumps by adding liquid, you’ll throw off the ratio. Let it sit out for a full 30 minutes. If you’re in a hurry, you can microwave it in 5-second bursts, but watch it closely. It should be soft, not melted.
Don’t Skip the Toasting
Raw pecans taste dusty. Toasting them in the oven or a dry pan transforms them. It brings out the natural oils. I learned this the hard way on my first attempt. The topping was boring. After toasting, the entire dessert tasted more expensive. It’s a simple step that makes a huge difference.
Use a Piping Bag for Cleanliness
Trying to spoon filling into tiny liners is messy. You’ll get filling on the outside of the paper, which looks messy after baking. A piping bag gives you control and a beautiful, uniform top. If you don’t have one, a gallon-sized Ziploc bag with the corner snipped off works perfectly.
Storage Reality Check
These do not freeze well. The texture of the cream cheese filling changes when thawed—it can become grainy or watery. Make these the day before or the morning of the event. Keep them in the fridge until 15 minutes before serving. Taking them out of the cold allows the flavors to open up.
Recipe Variations
Once you’ve nailed the basic version, here’s how to mix it up. These variations keep the recipe fresh for different occasions.
Spiced Maple Pecan
Add 1/2 teaspoon of pumpkin pie spice to the cream cheese mixture. This adds a warm, aromatic note that complements the maple. It’s perfect for late November showers.
Maple Bourbon
Swap 1 tablespoon of the maple syrup for bourbon. The alcohol cooks out slightly, leaving a deep, oaky flavor. This is for adult-only gatherings. It adds a sophisticated kick.
Cinnamon Roll Style
Skip the pecan topping. Instead, swirl a cinnamon-sugar mixture into the filling before baking. Top with a simple cream cheese glaze. It tastes like a cinnamon roll in bite form.
Dairy-Free Option
Use vegan cream cheese blocks (like Kite Hill or Treeline) and coconut cream instead of heavy cream. The texture might be slightly denser, but the flavor is still delicious. Make sure your maple syrup is vegan (some are processed with bone char).
Serving & Storage
Serving
Arrange these on a wooden board or a white platter for contrast. They look stunning with a few fresh figs or apple slices on the side. I also like to pair them with a cup of hot tea or coffee. For a baby shower, place them on a tiered stand. They are easy to grab and eat while mingling. No plates needed!
Storage
Refrigerator: Store in an airtight container for up to 4 days. They actually taste better on day two. The maple flavor deepens. Just keep them cold.
Freezer: I do not recommend freezing these. The dairy separates upon thawing, and the texture suffers. Make them fresh.
Meal Prep: You can prep the crusts and fillings up to 24 hours in advance. Just wait to add the pecan topping until right before serving to keep them crunchy.
Nutrition Information
I’m not a nutritionist, but here’s the breakdown per bite (makes 24 bites):
| Nutrient | Amount |
|---|---|
| Calories | 145 kcal |
| Protein | 2g |
| Carbs | 8g |
| Fat | 12g |
| Fiber | 1g |
| Sodium | 45mg |
My Take: This is a rich, indulgent treat. It’s not diet food, but it’s made with real ingredients. The almond flour adds healthy fats and protein compared to a traditional sugar crust. Enjoy it as a special occasion dessert, not an everyday snack.
Final Thoughts
Making Fall Baby Shower Maple Pecan Mini Cheesecake Bites is about more than just feeding people. It’s about creating a moment. It’s about walking into a room with a tray of something beautiful and knowing you made it yourself. I hope these bites bring you as much joy to make as they do to eat. They are the perfect way to celebrate the changing seasons and new beginnings. If you make this recipe, drop a comment! I love hearing how it turns out in your kitchen. Happy cooking!
FAQs
Can I use graham cracker crust instead of almond flour?
Absolutely. If you prefer a traditional taste, use 1 1/2 cups of graham cracker crumbs mixed with 3 tbsp melted butter and 1 tbsp maple syrup. The texture will be slightly different, but still delicious. However, the almond flour adds a nice nutty contrast to the maple.
Why did my cheesecake filling separate?
This usually happens if the cream cheese was too cold or if you overmixed the whipped cream. Make sure your cream cheese is fully softened. Also, when folding in the whipped cream, be gentle. Overmixing deflates the air and can cause the mixture to break. Chill the bowl for whipped cream to help it hold its structure.
Can I make these ahead of time?
Yes, this is actually the best way to make them. Prepare the crusts and filling up to 24 hours in advance. Store them covered in the fridge. Add the pecan topping the day of the event so they stay crunchy. This saves you so much stress on the day of the party.
Do I need to bake these?
No! This is a no-bake recipe. The setting comes from the cold temperature and the whipped cream structure. Baking them would change the texture and make them more like traditional cheesecake. Keep them in the fridge to set.
What if I don’t have a mini muffin pan?
You can use a regular muffin pan and make larger cheesecakes. You’ll need about 3-4 tbsp of filling per cup. The chilling time will need to be longer, maybe 4-6 hours. Alternatively, you can make them in small ramekins or even just spoon them into small dessert cups.
Can I substitute the maple syrup with honey?
You can, but the flavor will be different. Honey is sweeter and has a distinct floral taste. Maple syrup has a caramel note that pairs better with pecans and cream cheese. If you use honey, reduce the amount slightly as it is sweeter. I’d stick with maple syrup for the best result.
Pin This Recipe!
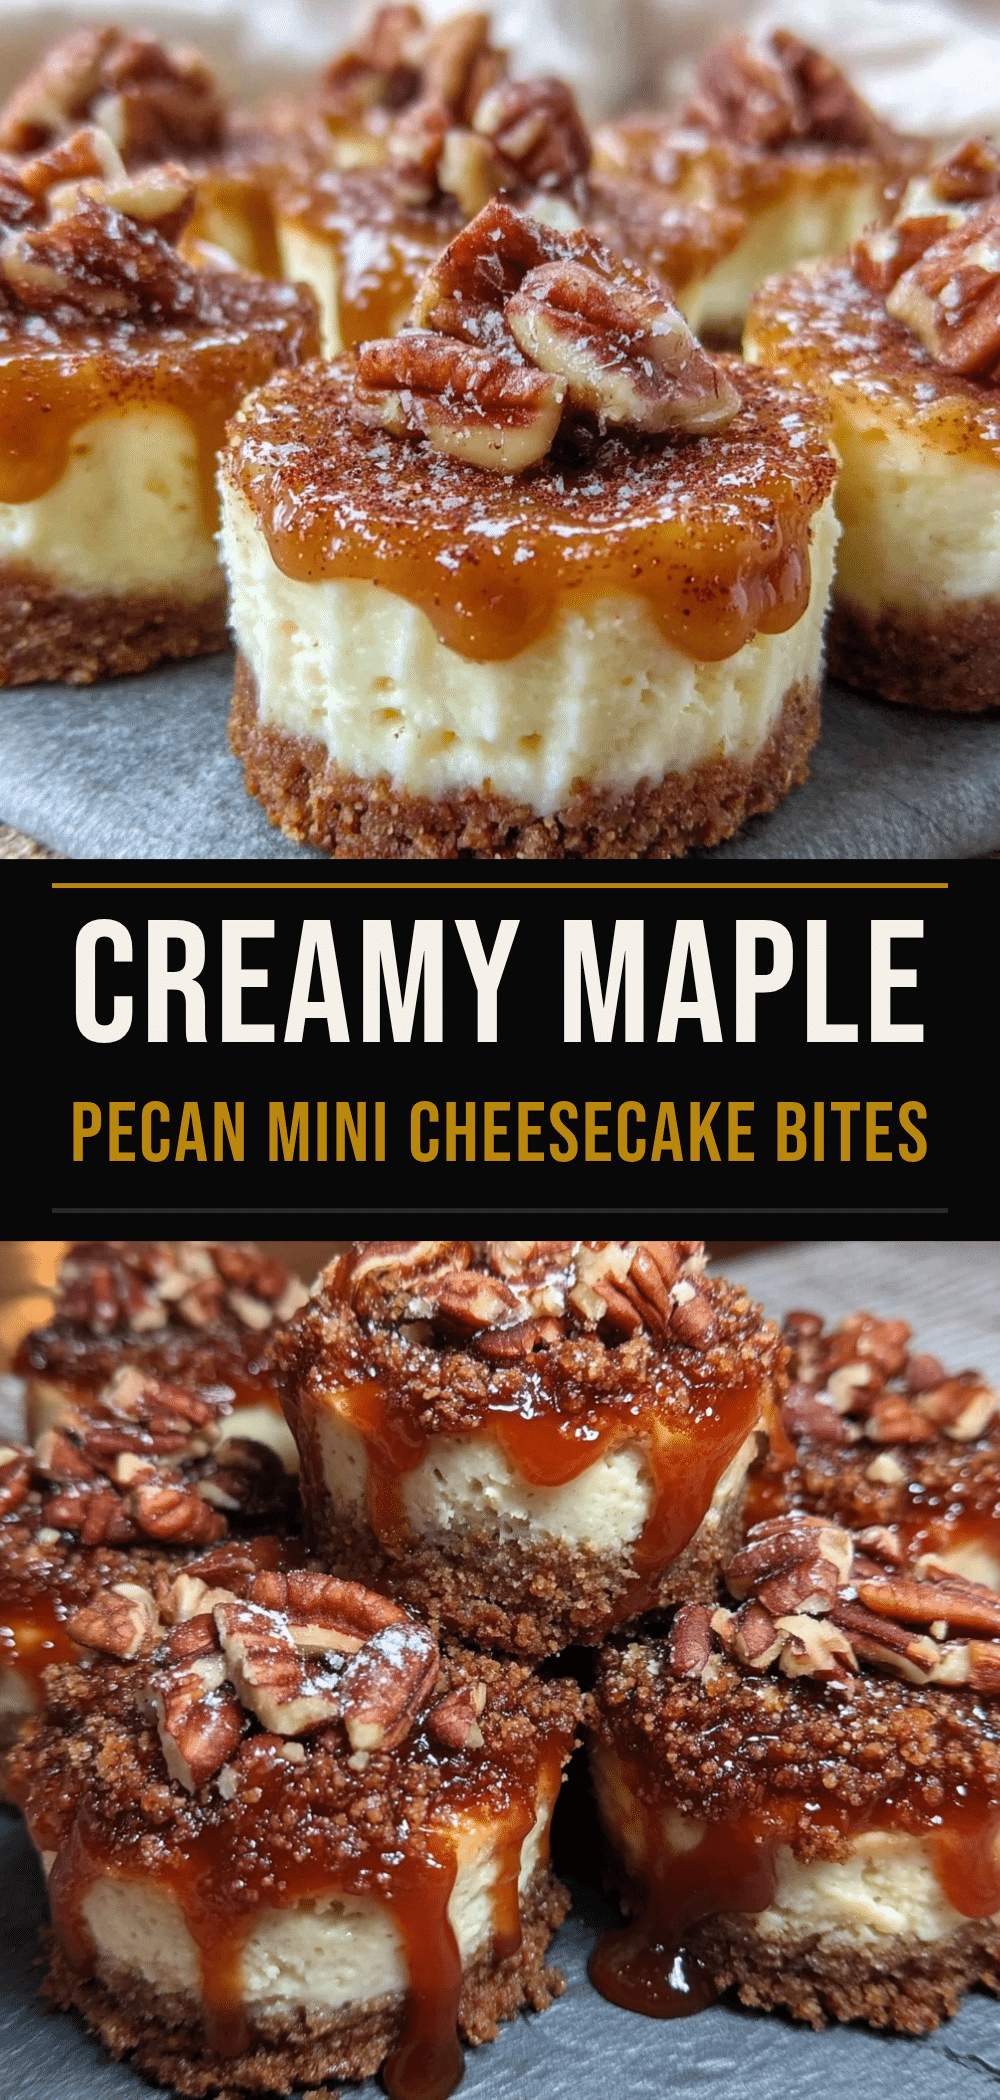
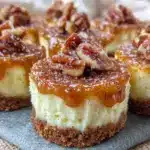
Fall Baby Shower Maple Pecan Mini Cheesecake Bites
- Total Time: 2 hours 35 minutes
- Yield: 24 servings 1x
Description
A no-bake, make-ahead dessert featuring a gluten-free almond flour crust, creamy maple cream cheese filling, and a warm candied pecan topping. Perfect for autumn celebrations.
Ingredients
- 1 cup (113g) blanched almond flour
- 3 tbsp (42g) unsalted butter, melted
- 1 tbsp (15g) pure maple syrup
- 1/4 tsp salt
- 16 oz (450g) full-fat block cream cheese, room temperature
- 1/3 cup (80g) medium-bodied maple syrup
- 1/2 cup (120ml) heavy cream, cold
- 1 tsp vanilla extract
- 2 large egg yolks, room temperature
- 1 cup (100g) pecan halves
- 1 tbsp (14g) butter
- 1 tbsp (15g) maple syrup
- 1/4 tsp cinnamon
Instructions
- Preheat oven to 350°F (175°C). Spread pecan halves on a baking sheet and toast for 5-7 minutes until fragrant. Let cool completely, then chop roughly.
- In a small bowl, combine almond flour, melted butter, 1 tbsp maple syrup, and salt. Mix until it resembles wet sand.
- Line a 24-cup mini muffin pan with paper liners. Press about 1 teaspoon of the crust mixture into the bottom of each liner. Chill the pan in the fridge.
- In a large bowl, beat the room-temperature cream cheese on medium-high speed until smooth. Add the 1/3 cup maple syrup and vanilla extract; mix until combined.
- In a separate cold bowl, whip the heavy cream until stiff peaks form.
- Gently fold the whipped cream into the cream cheese mixture until just combined, being careful not to deflate the air.
- Transfer the filling to a piping bag or Ziploc bag with the corner cut off. Pipe the filling into each crust-lined cup, filling almost to the top.
- Refrigerate the cheesecakes for at least 2 hours, or overnight, until set.
- Just before serving, heat 1 tbsp butter in a small skillet over medium heat. Add chopped toasted pecans, cinnamon, and 1 tbsp maple syrup. Stir constantly for 1-2 minutes until coated and bubbly.
- Drizzle the warm maple pecan mixture over each cheesecake bite and serve immediately.
Notes
Ensure cream cheese is fully softened to avoid lumps. Do not freeze these as the texture may become grainy. The almond flour crust makes this recipe naturally gluten-free. For a dairy-free option, use vegan cream cheese and coconut cream.
- Prep Time: 30 minutes
- Cook Time: 5 minutes
- Category: Dessert
- Cuisine: American
Nutrition
- Serving Size: 1 mini cheesecake bi
- Calories: 145
- Sugar: 7
- Sodium: 45
- Fat: 12
- Saturated Fat: 6
- Carbohydrates: 8
- Fiber: 1
- Protein: 2
Keywords: fall dessert, baby shower food, maple pecan, mini cheesecake, no-bake, gluten-free, make-ahead dessert, autumn treats